Authentic Caribbean Sorrel Drink Recipe
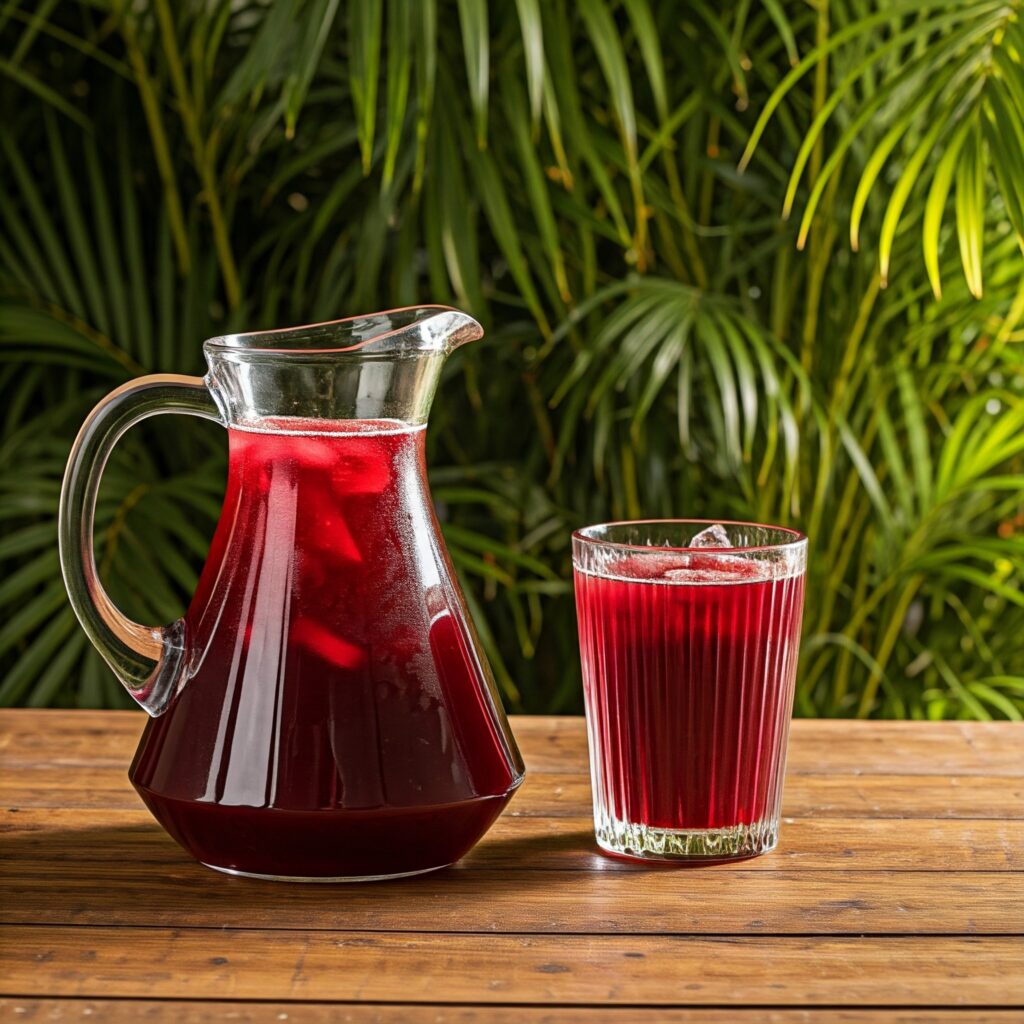
Authentic Caribbean Sorrel Drink Recipe Image Created By Google Gemini Ingredients Sorrel Base: 4 cups dried sorrel (hibiscus) flowers 10 cups water Spices: 1–2 cinnamon sticks 6–8 whole cloves 1–3 pieces fresh ginger, peeled and thinly sliced (add more for strength) 2–3 pimento berries (allspice) Sweetener: 1–1½ cups granulated sugar (adjust to taste) Optional: 1–2 cups white rum or dark rum (Ideal with Wray & Nephew Jamaican Rum) Garnish: Lime slices, orange peel, or fresh mint (optional) Preparation Steps Boil the Sorrel Base: In a large pot, bring the water to a boil. Add the dried sorrel, cinnamon sticks, cloves, ginger, and pimento berries to the boiling water. Stir to combine. Steep the Mixture: Remove the pot from heat and cover with a lid. Let the mixture steep for at least 2–4 hours, or preferably overnight, to develop rich flavors. Strain the Liquid: Using a fine mesh strainer or cheesecloth, strain the sorrel mixture into a large bowl or pitcher, discarding the solids. Sweeten the Drink: Stir in the sugar while the liquid is still warm, ensuring it dissolves completely. Adjust sweetness to taste. Add Rum (Optional): If desired, stir in rum for an adult version of the drink. Chill and Serve: Refrigerate the sorrel until thoroughly chilled, about 2–3 hours. Serve over ice and garnish with lime slices, orange peel, or fresh mint for an elegant touch. Preparation and Resting Times Preparation Time: 15 minutes Steeping Time: 2–4 hours (or overnight) Chilling Time: 2–3 hours Total Time: ~5–7 hours (including chilling) https://www.youtube.com/watch?v=C8WKAOeUP28 More Details Tips for the Perfect Sorrel Drink Dried Sorrel: Use dried hibiscus petals for the authentic flavor. Fresh sorrel (in season) can also be used but will require slightly more quantity. Spice Adjustments: Feel free to add nutmeg or star anise for additional complexity. Sugar Alternatives: Substitute honey or brown sugar for granulated sugar to add a different depth of flavor. Storage: Sorrel drink can be stored in the refrigerator for up to 1 week. Rum-Free Version: Simply omit the rum for a family-friendly version. Preparation Time 15 Min Steeping Time 2-4 Hours (or overnight) Total Time Approximately 5-7 Hours (including chilling) The video added to this recipe may vary in technique and ingredients . We just like giving you quick options to potentially compliment your dish!! 2024 Get Your Recipe™. All Rights Reserved
Elegant Stuffed Mushrooms
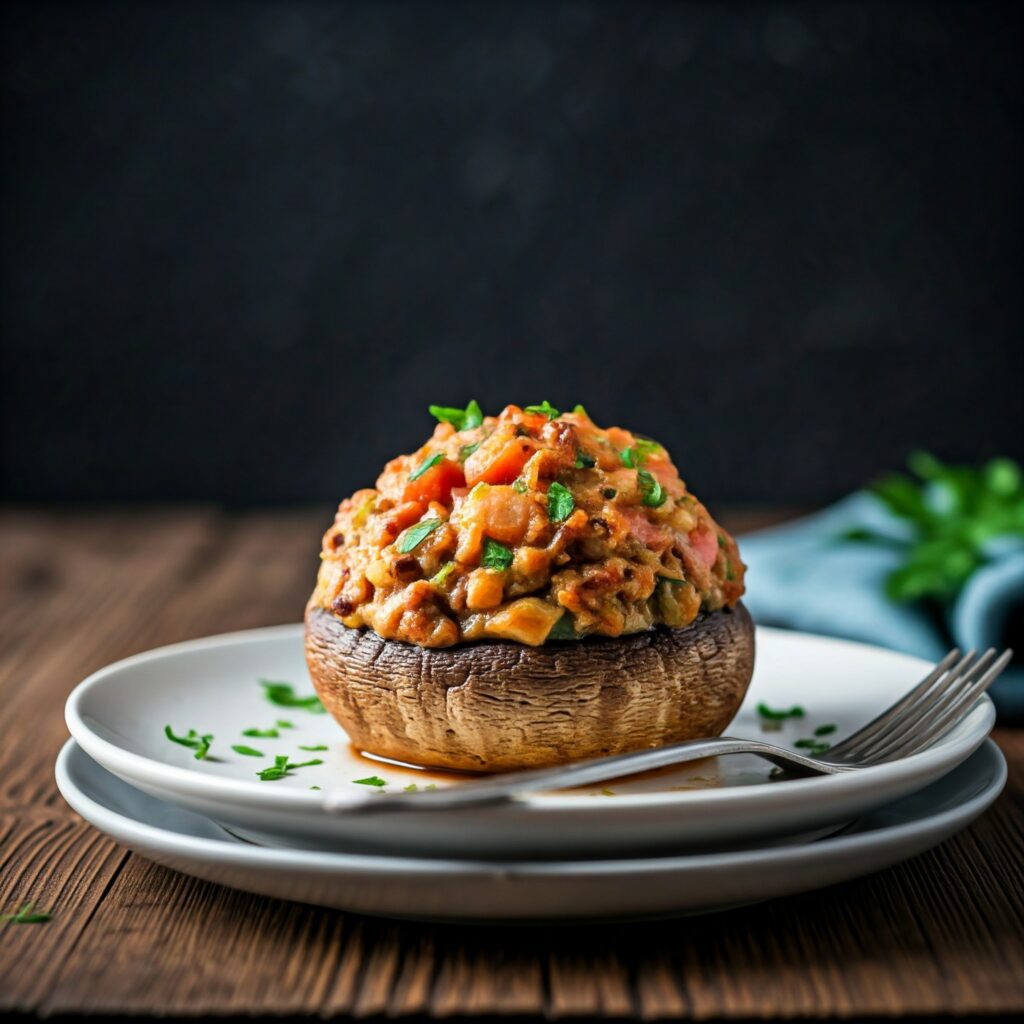
Elegant Stuff Mushrooms Image Created By Google Gemini Ingredients Mushrooms: 24 large white or cremini mushrooms, cleaned and stems removed Filling: 2 tablespoons olive oil 2 cloves garlic, minced 1 small onion, finely chopped 1/4 cup finely chopped fresh parsley 1/2 cup breadcrumbs 1/2 cup grated Parmesan cheese 1/4 cup cream cheese, softened Salt and freshly ground black pepper, to taste Topping: 1/4 cup shredded mozzarella cheese (optional) Fresh parsley, chopped (for garnish) Preparation Steps Prepare the Mushrooms: Preheat the oven to 375°F (190°C). Gently clean the mushrooms with a damp cloth and remove the stems. Finely chop the stems and set aside. Prepare the Filling: In a skillet over medium heat, heat the olive oil. Add the chopped onion and sauté until translucent, about 3–4 minutes. Stir in the minced garlic and chopped mushroom stems; cook for an additional 2–3 minutes until tender. Remove from heat and let the mixture cool slightly. In a bowl, combine the sautéed mixture with breadcrumbs, Parmesan cheese, cream cheese, and chopped parsley. Mix until well combined. Season with salt and pepper to taste. Stuff the Mushrooms: Arrange the mushroom caps on a baking sheet, cavity side up. Spoon the filling into each mushroom cap, pressing gently to mound slightly. If desired, sprinkle shredded mozzarella cheese on top of each stuffed mushroom. Bake: Bake in the preheated oven for 18–20 minutes, or until the mushrooms are tender and the tops are golden brown. Serve: Remove from the oven and let cool for a few minutes. Garnish with additional chopped parsley before serving. https://www.youtube.com/watch?v=rVDftilsnSY More Details Tips for Elegant Stuffed Mushrooms Mushroom Selection: Choose mushrooms of uniform size to ensure even cooking and an elegant presentation. Breadcrumbs: For added flavor, use seasoned breadcrumbs or toast plain breadcrumbs lightly before incorporating them into the filling. Cheese Variations: Experiment with different cheeses like Gruyère or feta to add a unique twist to the filling. Make-Ahead Option: Prepare the stuffed mushrooms in advance and refrigerate. Bake just before serving to enjoy them warm and fresh. Preparation Time 20 Min Cook Time 18-20 Min Total Time Approximately 40 Min The video added to this recipe may vary in technique and ingredients . We just like giving you quick options to potentially compliment your dish!! 2024 Get Your Recipe™. All Rights Reserved
Classic Pumpkin Pie
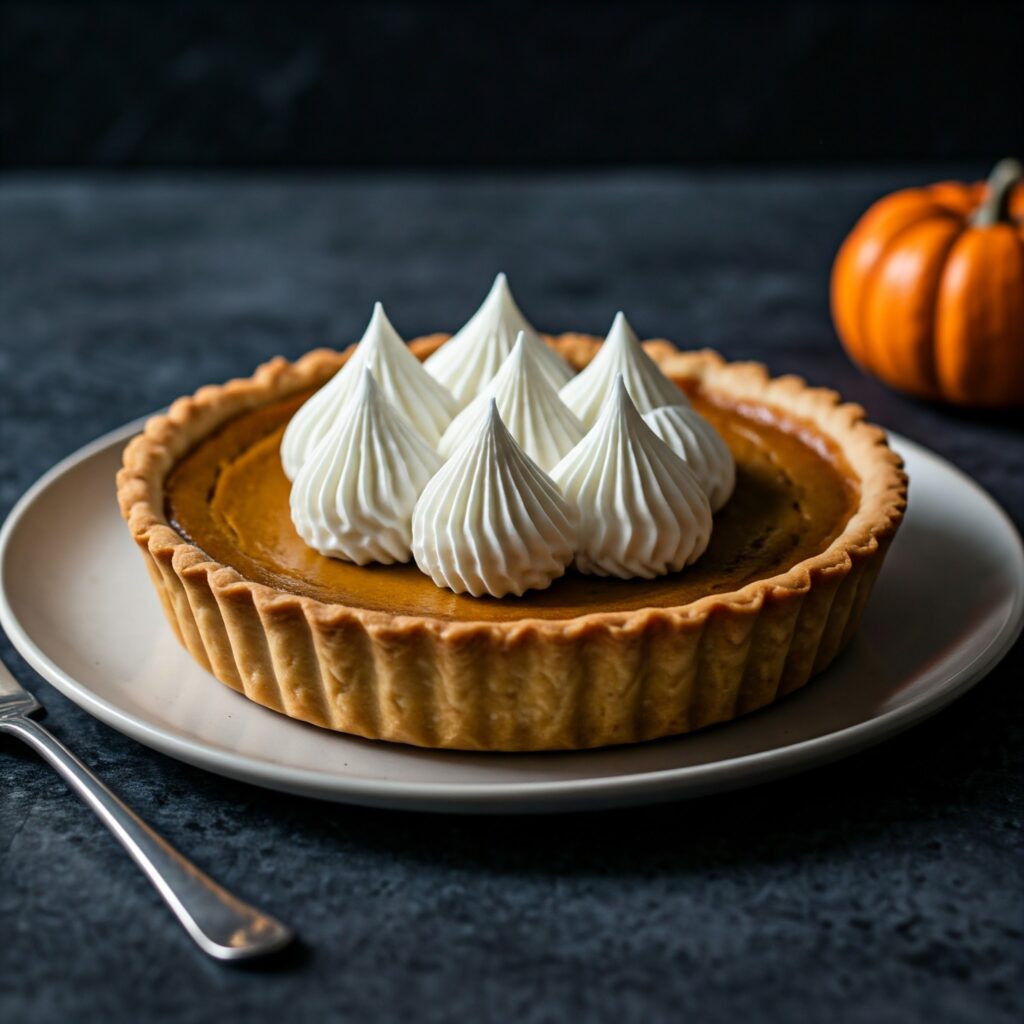
Classic Pumpkin Pie Recipe Image Created By Google Gemini Ingredients For the Crust: 1¼ cups all-purpose flour ½ teaspoon salt ½ cup (1 stick) unsalted butter, chilled and cut into small cubes 2–4 tablespoons ice water For the Filling: 1 can (15 ounces) pumpkin puree ¾ cup granulated sugar 1 teaspoon ground cinnamon ½ teaspoon ground ginger ¼ teaspoon ground cloves ½ teaspoon salt 2 large eggs 1 can (12 ounces) evaporated milk 1 teaspoon pure vanilla extract Optional Toppings: Whipped cream Pecans Preparation Steps Prepare the Crust: In a medium bowl, combine the flour and salt. Cut in the chilled butter using a pastry cutter or fork until the mixture resembles coarse crumbs. Gradually add ice water, one tablespoon at a time, mixing until the dough comes together. Form the dough into a disk, wrap in plastic wrap, and refrigerate for at least 1 hour. Roll Out the Dough: On a lightly floured surface, roll the dough into a 12-inch circle. Transfer it to a 9-inch pie dish, trimming any excess and crimping the edges as desired. Refrigerate the crust while preparing the filling. Preheat the Oven: Set the oven to 425°F (220°C). Make the Filling: In a large bowl, whisk together the pumpkin puree, sugar, cinnamon, ginger, cloves, and salt. Beat in the eggs until fully incorporated. Gradually stir in the evaporated milk and vanilla extract until the mixture is smooth. Assemble the Pie: Pour the filling into the prepared crust. Bake the Pie: Bake at 425°F (220°C) for 15 minutes. Reduce the oven temperature to 350°F (175°C) and continue baking for an additional 40–50 minutes, or until a knife inserted near the center comes out clean. Cool and Serve: Allow the pie to cool on a wire rack for 2 hours. Serve immediately or refrigerate until ready to serve. Top with whipped cream and pecans if desired. Preparation and Cook Times Preparation Time: 30 minutes (plus 1 hour for chilling the dough) Cook Time: 55–65 minutes Total Time: Approximately 2.5 hours https://www.youtube.com/watch?v=N03qjpi1EWk More Details Tips for the Perfect Pumpkin Pie Blind Baking: To prevent a soggy crust, consider blind baking the crust before adding the filling. Line the crust with parchment paper, fill with pie weights, and bake at 375°F (190°C) for 15 minutes. Remove the weights and parchment, then bake for an additional 5 minutes before adding the filling. Spice Variation: For a different flavor profile, substitute the individual spices with 1½ teaspoons of pumpkin pie spice. Pumpkin Puree: Using canned pumpkin puree is convenient and consistent. If using homemade puree, ensure it’s well-drained to avoid excess moisture. Avoid Cracks: To prevent the filling from cracking, avoid overbaking and allow the pie to cool gradually. Preparation Time 30 minutes (plus 1 hour for chilling the dough) Cook Time 55–65 minutes Total Time Approximately 2.5 hours The video added to this recipe may vary in technique and ingredients . We just like giving you quick options to potentially compliment your dish!! 2024 Get Your Recipe™. All Rights Reserved
Soul Food Mac and Cheese!
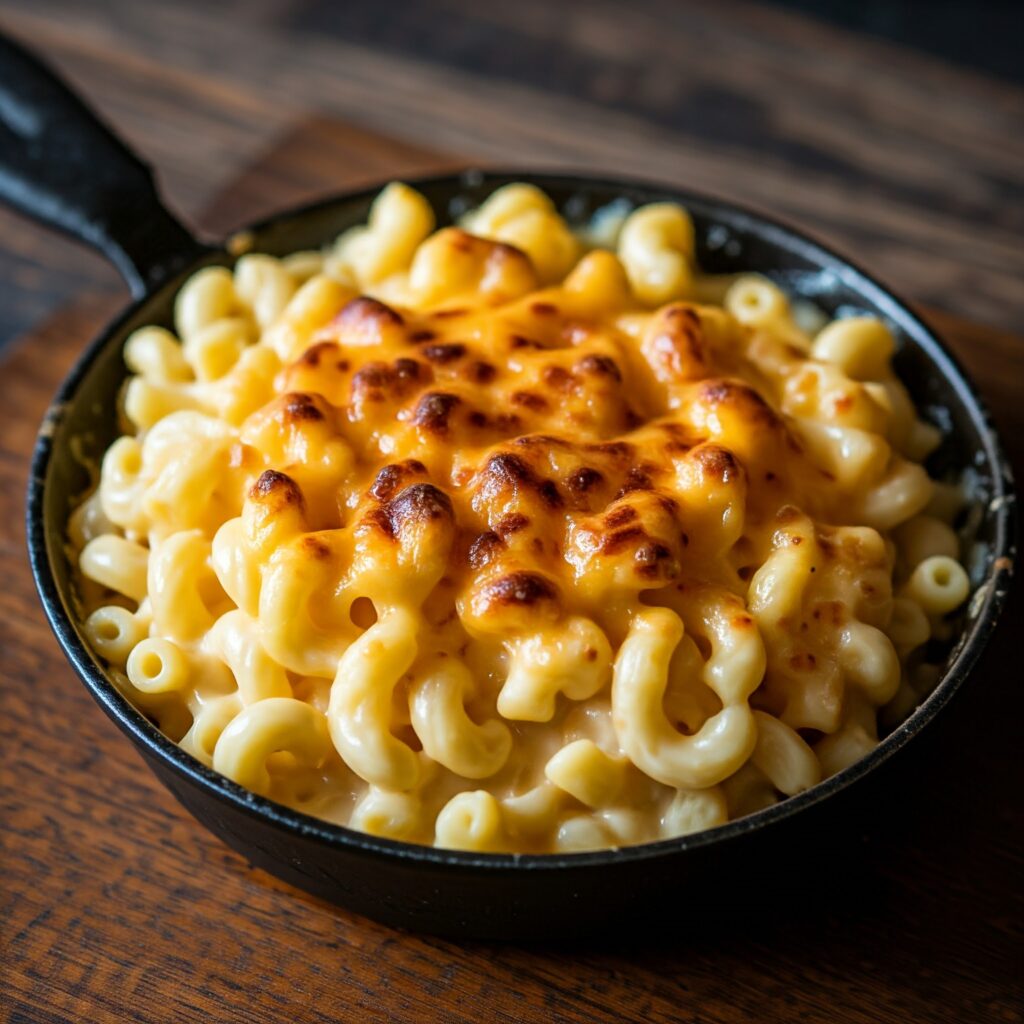
Soul Food Mac and Cheese! Image Created By Google Gemini Ingredients Pasta: 1 lb elbow macaroni 1 tsp salt (for boiling water) Cheese Sauce: 1 stick (½ cup) unsalted butter ¼ cup all-purpose flour 3 cups whole milk 1 cup heavy cream 1 tsp garlic powder 1 tsp onion powder 1 tsp paprika ½ tsp cayenne pepper (optional for spice) Salt and pepper to taste Cheese Blend: 2 cups sharp cheddar cheese, shredded 1 cup mozzarella cheese, shredded 1 cup Monterey Jack cheese, shredded 1 cup smoked gouda, shredded Custard Mixture: 2 large eggs, beaten ½ cup sour cream Topping: ½ cup breadcrumbs (optional) 2 tbsp melted butter Preparation Steps Cook the Pasta: Bring a large pot of salted water to a boil. Add the elbow macaroni and cook until just al dente (firm to the bite). Drain and set aside. Make the Cheese Sauce: In a large saucepan, melt the butter over medium heat. Whisk in the flour and cook for 1–2 minutes to form a roux. Gradually whisk in the milk and heavy cream. Bring to a simmer and cook until the sauce thickens, about 3–4 minutes. Stir in garlic powder, onion powder, paprika, cayenne pepper, salt, and black pepper. Gradually add the shredded cheeses (reserve 1 cup of cheese for topping), stirring until fully melted and smooth. Mix the Custard: In a small bowl, whisk together the beaten eggs and sour cream. Slowly mix this into the cheese sauce, stirring quickly to avoid scrambling the eggs. Combine Pasta and Sauce: In a large mixing bowl, combine the cooked macaroni and the cheese sauce, stirring to coat evenly. Assemble the Mac and Cheese: Preheat the oven to 375°F (190°C). Grease a 9×13-inch baking dish. Pour the mac and cheese mixture into the prepared dish. Top with the reserved cheese. For a crispy topping, sprinkle with breadcrumbs mixed with melted butter. Bake: Bake uncovered for 25–30 minutes, or until the top is golden brown and bubbly. Serve: Let the mac and cheese rest for 5 minutes before serving. Garnish with fresh parsley if desired. https://www.youtube.com/watch?v=qItKzdAeU4A More Details Tips for the Best Soul Food Mac and Cheese Cheese Selection: Use a mix of sharp, creamy, and smoky cheeses for depth of flavor. Smoked gouda adds an irresistible kick. Custard Texture: The sour cream and eggs create a creamy, custard-like texture that sets beautifully when baked. Spice It Up: Add a pinch of cayenne or hot sauce to the cheese sauce for a Southern-style kick. Make Ahead: Assemble the mac and cheese, cover, and refrigerate for up to a day. Bake just before serving. Optional Add-Ins: For extra indulgence, add crispy bacon, caramelized onions, or lobster chunks to the mix. The video added to this recipe may vary in technique and ingredients . We just like giving you quick options to potentially compliment your dish!! 2024 Get Your Recipe™. All Rights Reserved
Rack of Lamb Recipe
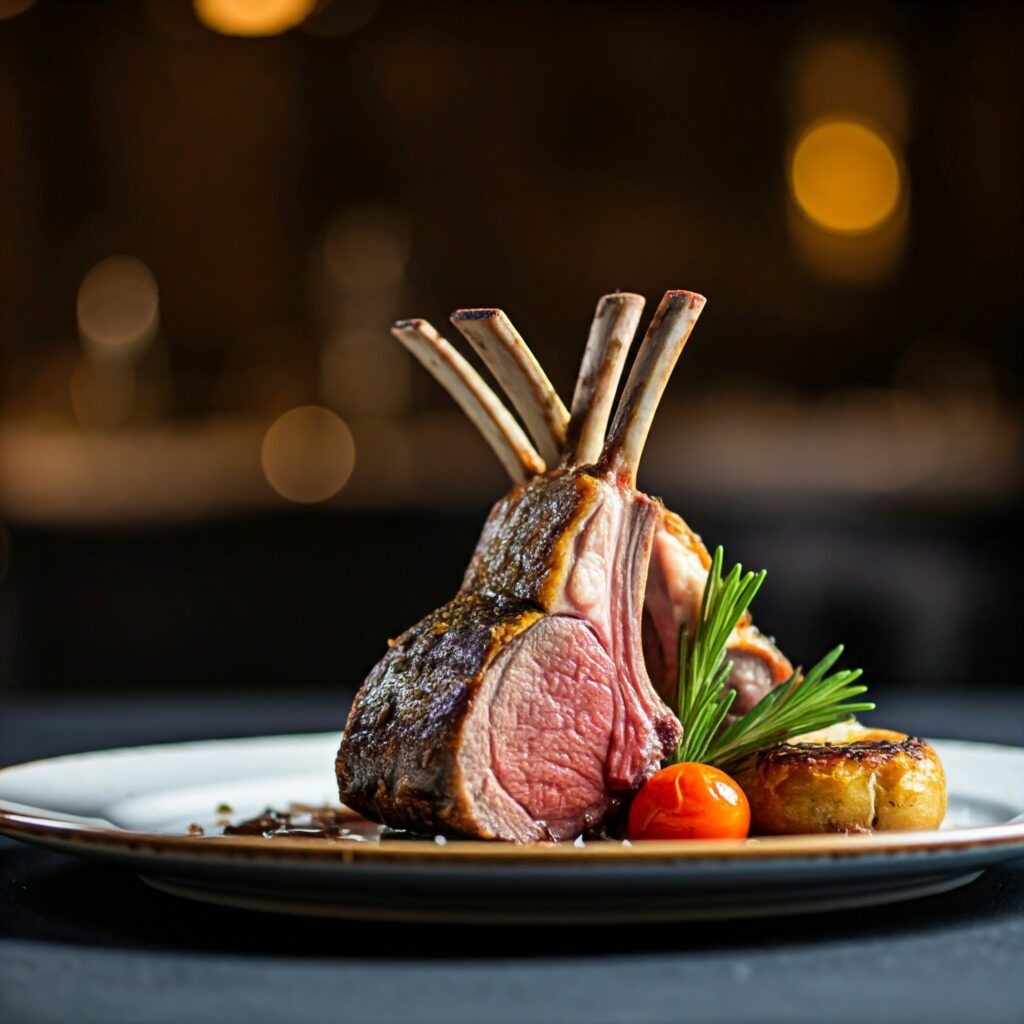
Rack of Lamb Recipe Image Created By Google Gemini Ingredients For the Lamb: 2 racks of lamb, frenched (about 1.5 lbs each) 4 cloves garlic, minced 2 tablespoons fresh rosemary, finely chopped 1 tablespoon fresh thyme leaves 1 teaspoon kosher salt ½ teaspoon freshly ground black pepper 2 tablespoons olive oil For the Salsa Verde: 1 cup fresh parsley leaves ½ cup fresh mint leaves 2 tablespoons capers, drained 2 anchovy fillets (optional) 1 clove garlic Zest and juice of 1 lemon ½ cup extra-virgin olive oil Salt and pepper, to taste Instructions Marinate the Lamb: In a small bowl, combine the minced garlic, chopped rosemary, thyme, salt, pepper, and olive oil to form a paste. Rub the paste evenly over the lamb racks, ensuring all surfaces are coated. Place the lamb in a dish, cover, and marinate in the refrigerator for at least 2 hours or overnight for deeper flavor. Prepare the Salsa Verde: In a food processor, combine the parsley, mint, capers, anchovy fillets (if using), garlic, lemon zest, and juice. Pulse until the herbs are finely chopped. With the processor running, slowly drizzle in the olive oil until the mixture reaches a saucy consistency. Season with salt and pepper to taste. Transfer to a bowl, cover, and refrigerate until ready to use. Cook the Lamb: Remove the lamb from the refrigerator and let it come to room temperature (about 30 minutes). Preheat the oven to 375°F (190°C). Heat a large ovenproof skillet over medium-high heat. Sear the lamb racks, fat side down, for 3–4 minutes until browned. Flip and sear the other side for an additional 2 minutes. Transfer the skillet to the preheated oven and roast for 15–20 minutes, or until the internal temperature reaches 130°F (54°C) for medium-rare. Remove the lamb from the oven, place it on a cutting board, and tent with foil. Let it rest for 10 minutes. Serve: Slice the lamb into individual chops. Arrange on a serving platter and drizzle with the prepared Salsa Verde. Garnish with additional fresh herbs if desired. https://www.youtube.com/watch?v=QDiKcbxCgAg More Details Tips Frenching the Racks: Ask your butcher to “french” the lamb racks, which involves trimming the meat and fat from the ends of the rib bones for a cleaner presentation. Marinating Time: Marinating overnight enhances the flavor, but if time is limited, even 2 hours will impart a good taste. Cooking Doneness: For medium doneness, aim for an internal temperature of 140°F (60°C). Use a meat thermometer for accuracy. Resting the Meat: Allowing the lamb to rest after roasting ensures the juices redistribute, resulting in tender and juicy meat. The video added to this recipe may vary in technique and ingredients . We just like giving you quick options to potentially compliment your dish!! 2024 Get Your Recipe™. All Rights Reserved
Modern Duck à l’Orange Recipe (Fancy Duck Roast!)
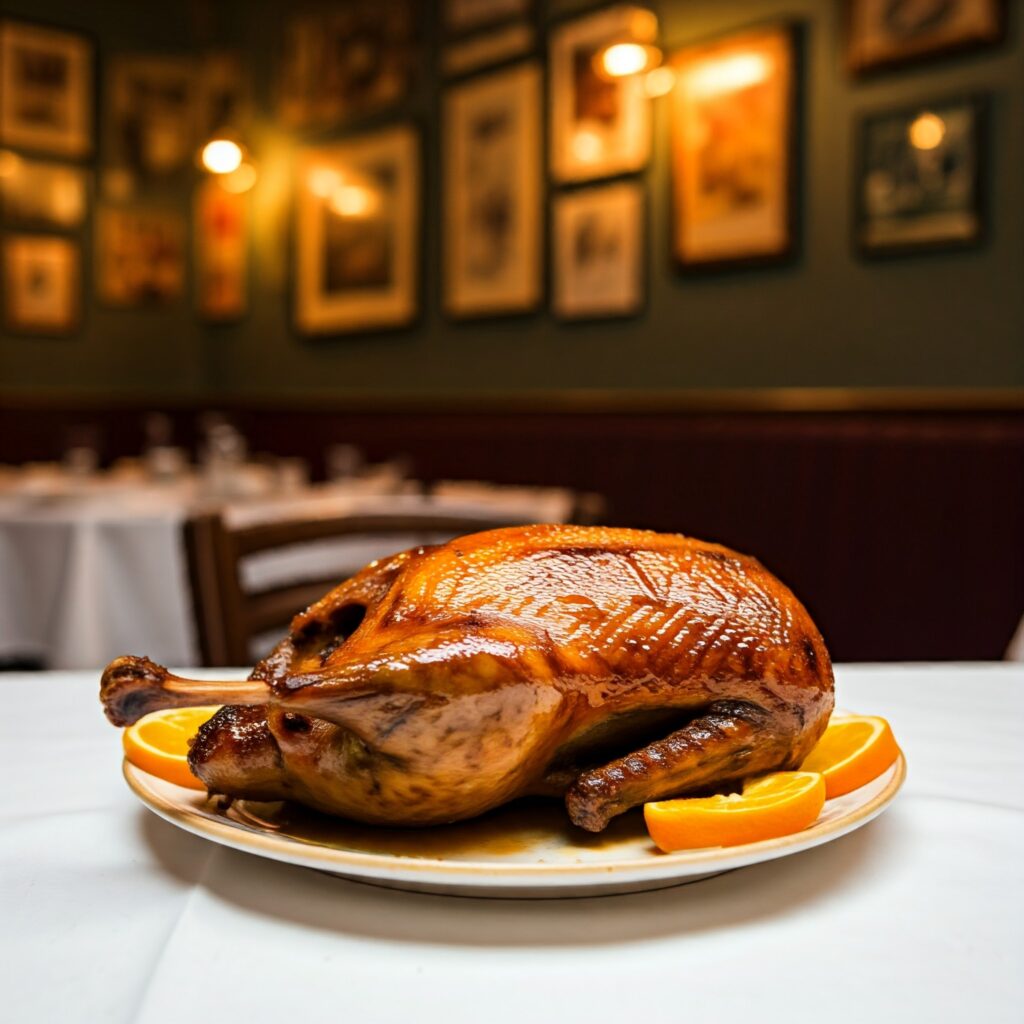
A Modern Duck à l’Orange Recipe Image Created By Google Gemini Ingredients Duck: 1 whole duck (about 4–5 lbs) or 4 duck breasts 2 tsp kosher salt 1 tsp freshly ground black pepper 1 orange, quartered (for the cavity) 2 sprigs fresh thyme 2 cloves garlic, smashed Orange Sauce: 1 cup freshly squeezed orange juice Zest of 1 orange ¼ cup white wine vinegar ¼ cup sugar 1 cup chicken or duck stock 2 tbsp Grand Marnier or Cointreau (optional) 2 tbsp unsalted butter, cold Garnish: Fresh orange segments Fresh thyme sprigs Preparation Steps Duck Preparation Preheat the Oven: Preheat your oven to 375°F (190°C). Prepare the Duck: Pat the duck dry with paper towels. Trim excess fat and season inside and out with salt and pepper. Stuff the cavity with the orange quarters, thyme, and garlic. Score the Skin: If using duck breasts, score the skin in a crosshatch pattern, being careful not to cut into the meat. This allows the fat to render during cooking. Sear the Duck: Heat a large ovenproof skillet over medium heat. Place the duck (breast-side down for whole duck) in the pan to render the fat and crisp the skin. Sear for 8–10 minutes until golden brown. Roast the Duck: Transfer the skillet to the preheated oven. Roast for: Whole duck: 1½–2 hours, or until the internal temperature in the thickest part of the thigh reaches 165°F (74°C). Duck breasts: 12–15 minutes for medium-rare, or longer for more doneness. Make the Orange Sauce Prepare the Caramel Base: In a medium saucepan, combine the sugar and vinegar over medium heat. Cook until the sugar dissolves and turns golden, about 3–4 minutes. Deglaze and Reduce: Carefully add the orange juice, zest, and stock to the caramel. Simmer until the sauce reduces by half, about 10–12 minutes. Finish the Sauce: Stir in Grand Marnier (if using) and whisk in cold butter for a glossy finish. Adjust seasoning with salt and pepper. Serve Rest the Duck: Let the duck rest for 10–15 minutes after roasting. Carve the whole duck or slice the breasts thinly. Plate the Dish: Drizzle the orange sauce over the duck and garnish with fresh orange segments and thyme sprigs. Serve with sides like roasted potatoes, asparagus, or wild rice. https://www.youtube.com/watch?v=qvQz56_4RH8 More Details Chef Tips for Fancy Duck Duck Fat: Save the rendered duck fat for roasting vegetables or making crispy potatoes—it’s liquid gold in the kitchen! Crispier Skin: Ensure the duck is dry before cooking and don’t cover it during roasting to maintain a crispy skin. Balancing the Sauce: If the sauce tastes too sweet, add a splash of vinegar or lemon juice to balance the flavors. The video added to this recipe may vary in technique and ingredients . We just like giving you quick options to potentially compliment your dish!! 2024 Get Your Recipe™. All Rights Reserved
Authentic Southern Cornbread Recipe
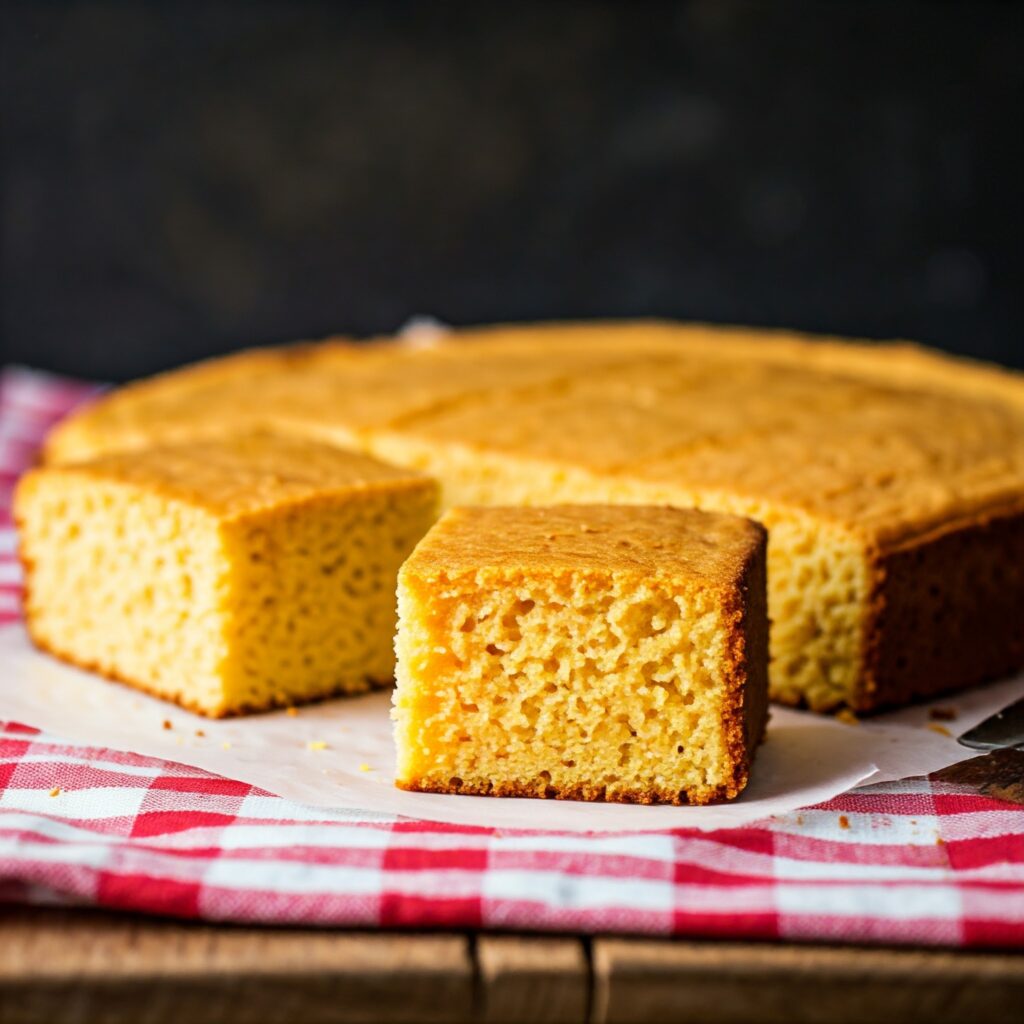
Authentic Southern Cornbread Recipe Image Created By Blended AI Tools Ingredients 2 cups cornmeal (stone-ground for the best texture) 1 tsp baking powder ½ tsp baking soda 1 tsp salt 1¾ cups buttermilk (room temperature) 1 large egg (room temperature) 2 tbsp unsalted butter (melted) 2 tbsp bacon drippings or vegetable oil (for the skillet) Preparation Steps Preheat the Oven: Place a 9-inch cast-iron skillet in the oven and preheat to 425°F (220°C). Heating the skillet ensures a crispy crust. Mix the Dry Ingredients: In a large bowl, whisk together the cornmeal, baking powder, baking soda, and salt. Combine the Wet Ingredients: In a separate bowl, whisk together the buttermilk and egg. Stir in the melted butter. Mix the Batter: Gradually pour the wet ingredients into the dry ingredients. Stir gently until just combined. Do not overmix, as this can make the cornbread dense. Heat the Skillet: Carefully remove the hot skillet from the oven. Add bacon drippings or vegetable oil, swirling to coat the bottom and sides. Bake the Cornbread: Pour the batter into the hot skillet, spreading it evenly. You should hear a satisfying sizzle as the batter hits the pan. Return the skillet to the oven and bake for 20–25 minutes, or until the top is golden brown and a toothpick inserted in the center comes out clean. Cool and Serve: Let the cornbread cool in the skillet for 5–10 minutes before slicing. Serve warm with butter or alongside classic Southern dishes like collard greens, fried chicken, or chili. https://www.youtube.com/watch?v=zYeUp_V7ass More Details Tips for Authentic Southern Cornbread Cornmeal Texture: Stone-ground cornmeal provides the best flavor and texture. Avoid using pre-sweetened cornbread mixes for authenticity. No Sugar: Traditional Southern cornbread doesn’t include sugar. If you prefer a sweeter cornbread, you can add 1–2 tbsp sugar, but purists may object! Buttermilk Substitution: If you don’t have buttermilk, make a substitute by mixing 1¾ cups whole milk with 1 tbsp white vinegar or lemon juice. Let sit for 5 minutes. Crispy Crust: The hot skillet and bacon drippings create a perfectly crispy crust that’s a hallmark of true Southern cornbread. The video added to this recipe may vary in technique and ingredients . We just like giving you quick options to potentially compliment your dish!! 2024 Get Your Recipe™. All Rights Reserved
Simple Yorkshire pudding Recipe
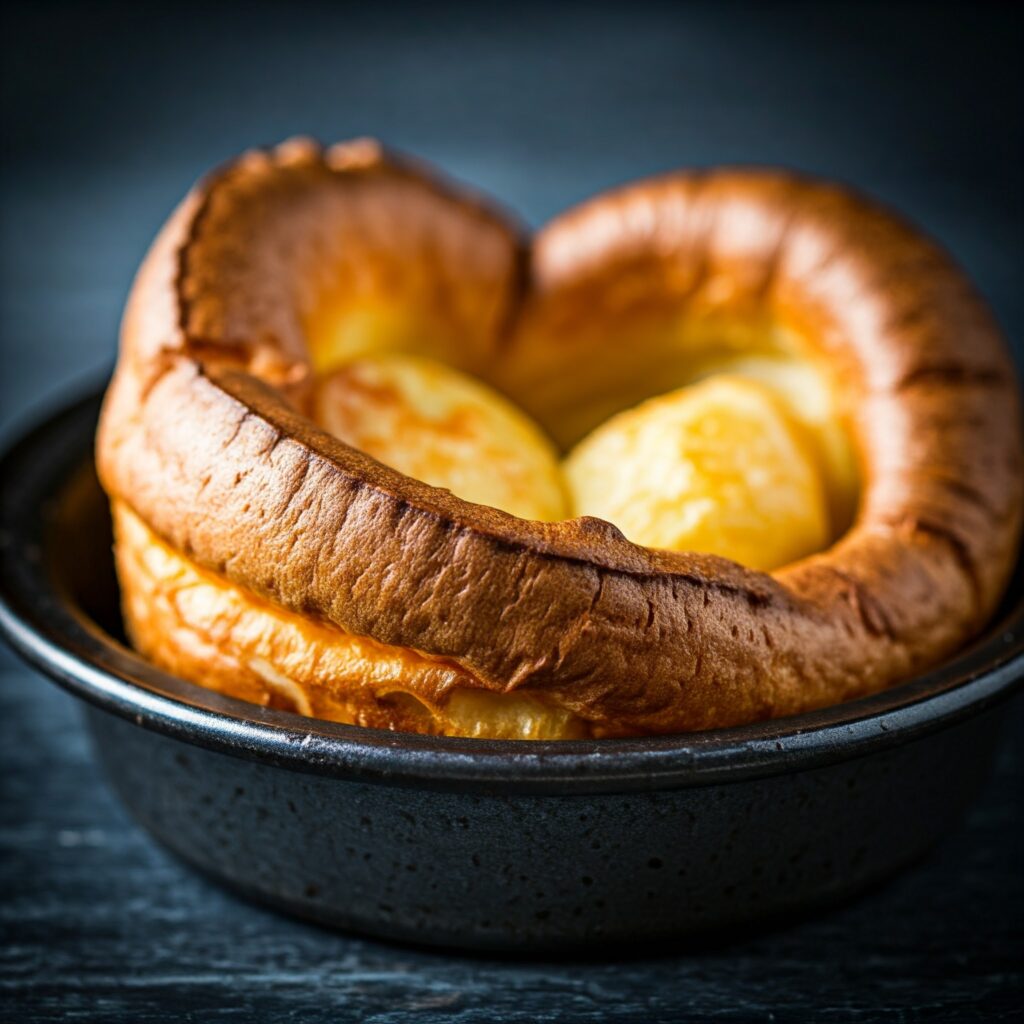
Simple Yorkshire pudding Recipe Image Created By Blended AI Tools Ingredients 1 cup all-purpose flour 1 cup whole milk 3 large eggs ½ tsp salt 2–3 tbsp beef drippings or vegetable oil Preparation Steps Preheat Oven: Preheat your oven to 425°F (220°C). Place a muffin tin or Yorkshire pudding tray in the oven to heat up. Prepare the Batter: In a medium bowl, whisk together the flour and salt. In a separate bowl, whisk the eggs and milk until smooth. Gradually add the wet ingredients to the flour, whisking until the batter is lump-free. Let the batter rest for at least 15–30 minutes at room temperature. This allows the gluten to relax, resulting in fluffier puddings. Heat the Fat: Add about ½ tsp of beef drippings or vegetable oil to each cup of the preheated muffin tin. Place the tin back in the oven until the oil is smoking hot, about 5 minutes. Bake the Puddings: Carefully remove the tin from the oven and pour the batter into each cup, filling about ⅔ full. Work quickly to prevent the oil from cooling. Return the tin to the oven and bake for 20–25 minutes without opening the oven door. The puddings will puff up and turn golden brown. Serve Immediately: Yorkshire puddings are best served fresh and hot. Pair them with gravy and roast beef for the ultimate comfort food experience. https://www.youtube.com/watch?v=nUvIJqhq0KQ More Details Tips for Perfect Yorkshire Puddings Resting the Batter: Resting the batter enhances its rise and texture. For even better results, refrigerate it for up to an hour. Hot Oil: The oil must be sizzling hot before adding the batter to ensure the puddings rise properly. Avoid Peeking: Opening the oven during baking may cause the puddings to deflate. Drippings for Flavor: Beef drippings add a traditional savory flavor, but vegetable oil works well for a neutral taste. The video added to this recipe may vary in technique and ingredients . We just like giving you quick options to potentially compliment your dish!! 2024 Get Your Recipe™. All Rights Reserved
Chef-Style Prime Rib Roast Recipe
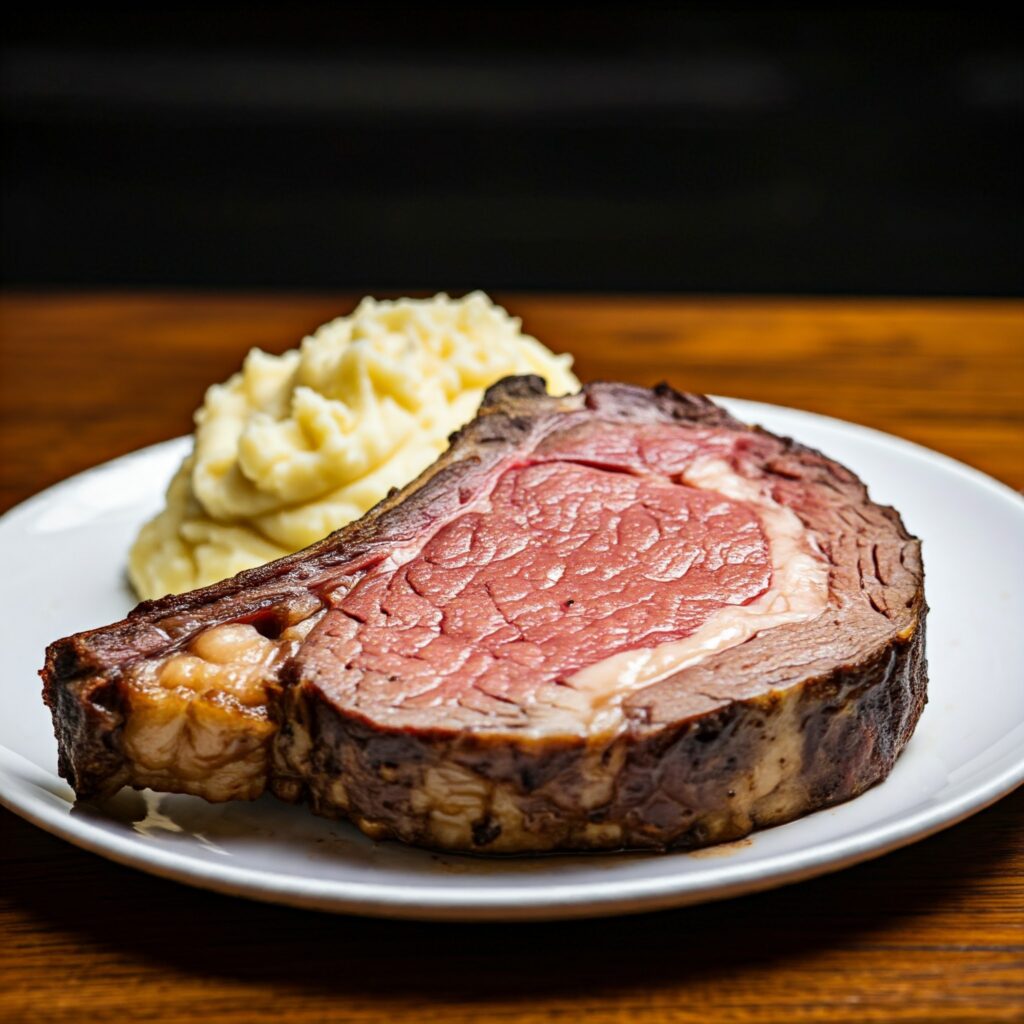
Chef-Style Prime Rib Roast Image Created By Google Gemini Ingredients (Fusion Technique!) Prime Rib Roast: 1 standing rib roast (5–7 pounds), preferably dry-aged and bone-in Chef Keller’s Herb Butter: 1 stick (½ cup) unsalted butter, softened 2 tbsp fresh rosemary, chopped 2 tbsp fresh thyme, chopped 2 cloves garlic, minced 1 tbsp Dijon mustard Zest of 1 lemon 1 tsp kosher salt 1 tsp freshly cracked black pepper Chef Ramsay’s Pan Sauce: 2 tbsp olive oil 1 large shallot, finely diced 3 cloves garlic, smashed ½ cup red wine 1 cup beef stock 2 tbsp unsalted butter (cold) 1 sprig rosemary, 1 sprig thyme Preparation Steps Prepare the Roast: Remove the rib roast from the fridge 2–3 hours before cooking to bring it to room temperature. Pat it dry with paper towels. Score the fat cap lightly with a sharp knife. Make the Herb Butter: In a bowl, mix softened butter with rosemary, thyme, minced garlic, Dijon mustard, lemon zest, salt, and black pepper. Rub the butter generously all over the roast, ensuring even coverage. Sear the Roast: Preheat a large skillet over medium-high heat. Add a bit of olive oil and sear the roast on all sides for 2–3 minutes until golden brown. This locks in the juices. Roast: Preheat the oven to 250°F (120°C) for low and slow cooking. Place the seared roast bone-side down on a wire rack inside a roasting pan. Insert a meat thermometer into the center of the roast. Cook until the internal temperature reaches: 120°F (49°C) for rare 130°F (54°C) for medium-rare This will take approximately 3–4 hours for a 5–7 pound roast. Crank the Heat for a Crust: Remove the roast and increase oven temperature to 500°F (260°C). Place the roast back in the oven for 10–15 minutes to develop a deep, golden crust. Rest: Tent the roast loosely with foil and let it rest for 20–30 minutes. This ensures the juices redistribute for a tender, flavorful bite. Prepare Chef Ramsay’s Pan Sauce: In the same skillet used for searing, heat olive oil over medium heat. Add shallots and smashed garlic; sauté until softened. Deglaze the pan with red wine, scraping up browned bits. Reduce by half. Add beef stock, rosemary, and thyme. Simmer until slightly thickened. Whisk in cold butter for a glossy finish, then strain the sauce through a fine sieve. Carve and Serve: Slice the roast into thick pieces and serve with the pan sauce. Garnish with fresh herbs for presentation. https://www.youtube.com/watch?v=xRQwBON4-ME More Details Special Chef Tips Dry Aging (Chef Keller): If possible, dry-age the roast in the fridge (uncovered) for 3–5 days to intensify flavor. Precision Cooking (Chef Ramsay): Use the reverse-sear method (low and slow cooking, then high-heat finishing) to achieve even doneness. Finishing Salt (Chef Keller): Sprinkle finishing salt, like Maldon or fleur de sel, over the slices just before serving. The video added to this recipe may vary in technique and ingredients . We just like giving you quick options to potentially compliment your dish!! 2024 Get Your Recipe™. All Rights Reserved
Fluffiest Mashed Potatoes Recipe
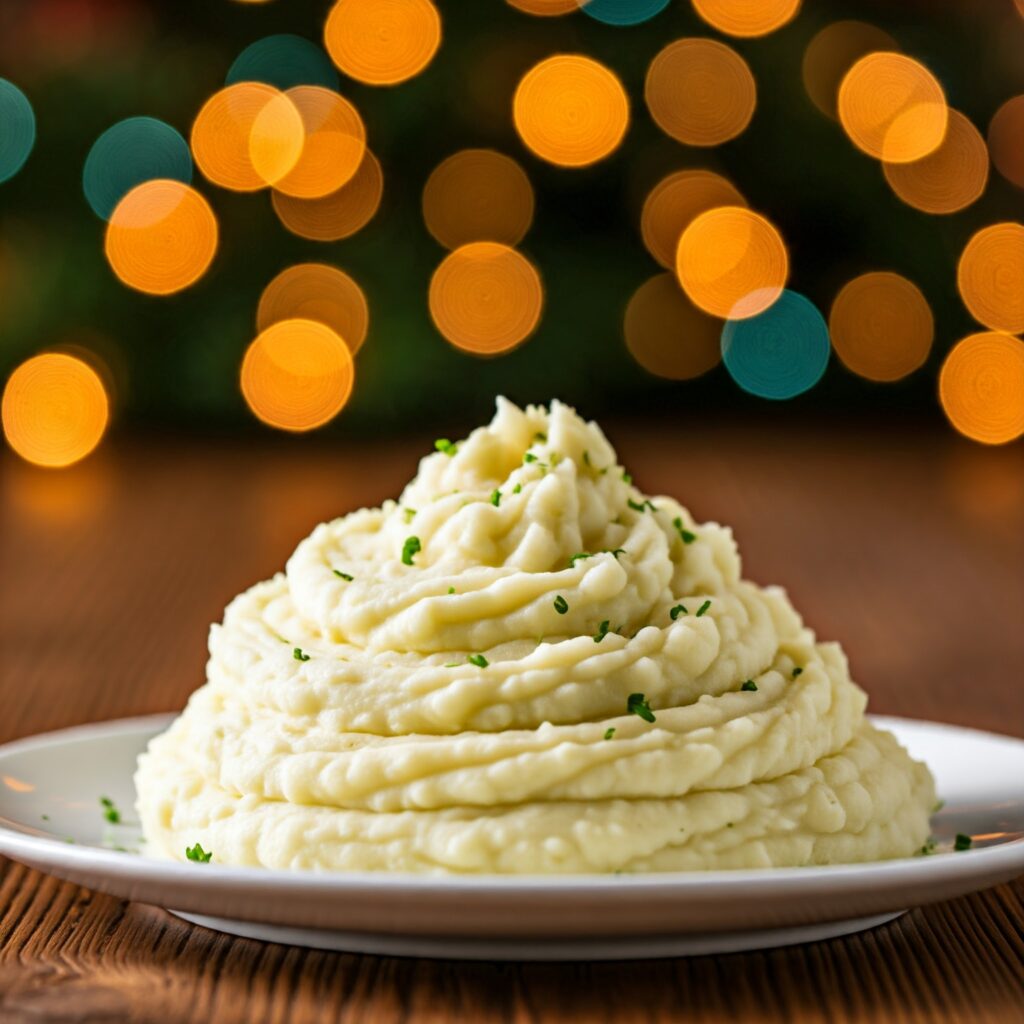
Fluffiest Mashed Potatoes Recipe Image Created By Google Gemini Ingredients Potatoes: 3 lbs Yukon Gold potatoes (or Russets for extra fluffiness) Butter & Cream Mixture: 1 cup heavy cream 1 stick (½ cup) unsalted butter, cubed Seasoning: 1 tsp kosher salt (plus more for boiling water) ½ tsp freshly ground black pepper Optional: 2 tbsp sour cream for tang Finishing Touches (Optional): Chopped fresh chives or parsley for garnish Preparation Steps Peel and Cut the Potatoes: Peel the potatoes and cut them into evenly sized 1–2 inch chunks to ensure even cooking. Boil the Potatoes: Place the potato chunks in a large pot. Cover with cold water and add 1–2 tbsp salt. Bring to a boil and simmer for 15–20 minutes, or until the potatoes are fork-tender. Heat Butter and Cream: While the potatoes are boiling, melt the butter in a small saucepan over low heat. Add the heavy cream and warm until just steaming (do not boil). Keep warm over low heat. Drain and Dry Potatoes: Drain the potatoes in a colander and let them sit for 2–3 minutes to allow excess moisture to evaporate. For extra fluffiness, return the drained potatoes to the hot pot and shake gently over low heat for 30 seconds to dry them further. Mash the Potatoes: Use a potato ricer or food mill for the fluffiest texture. For a chunkier texture, a hand masher works fine. Gradually pour in the warm butter and cream mixture while mashing, stirring gently to combine. Season and Adjust: Add salt and pepper to taste. For a tangy depth of flavor, mix in sour cream. Serve Immediately: Transfer the mashed potatoes to a serving bowl and top with extra melted butter or garnish with fresh chives or parsley. https://www.youtube.com/watch?v=rXS7ZNmlrFs More Details Tips for Perfect, Fluffy Mashed Potatoes Potato Choice: Yukon Gold potatoes are naturally creamy, while Russets are drier and fluffier. A 50/50 mix works wonderfully. Warm Ingredients: Always use warm cream and butter. Cold ingredients can cool the potatoes and make them gluey. Don’t Overmix: Overmixing releases starch, resulting in gummy potatoes. Mash gently and stop as soon as everything is incorporated. Make-Ahead Option: Keep mashed potatoes warm in a slow cooker on low or in a heatproof bowl over a simmering water bath for up to 2 hours. Customize the Flavor: Add roasted garlic, grated Parmesan, or truffle oil for a gourmet twist. The video added to this recipe may vary in technique and ingredients . We just like giving you quick options to potentially compliment your dish!! 2024 Get Your Recipe™. All Rights Reserved