Rack of Lamb Recipe
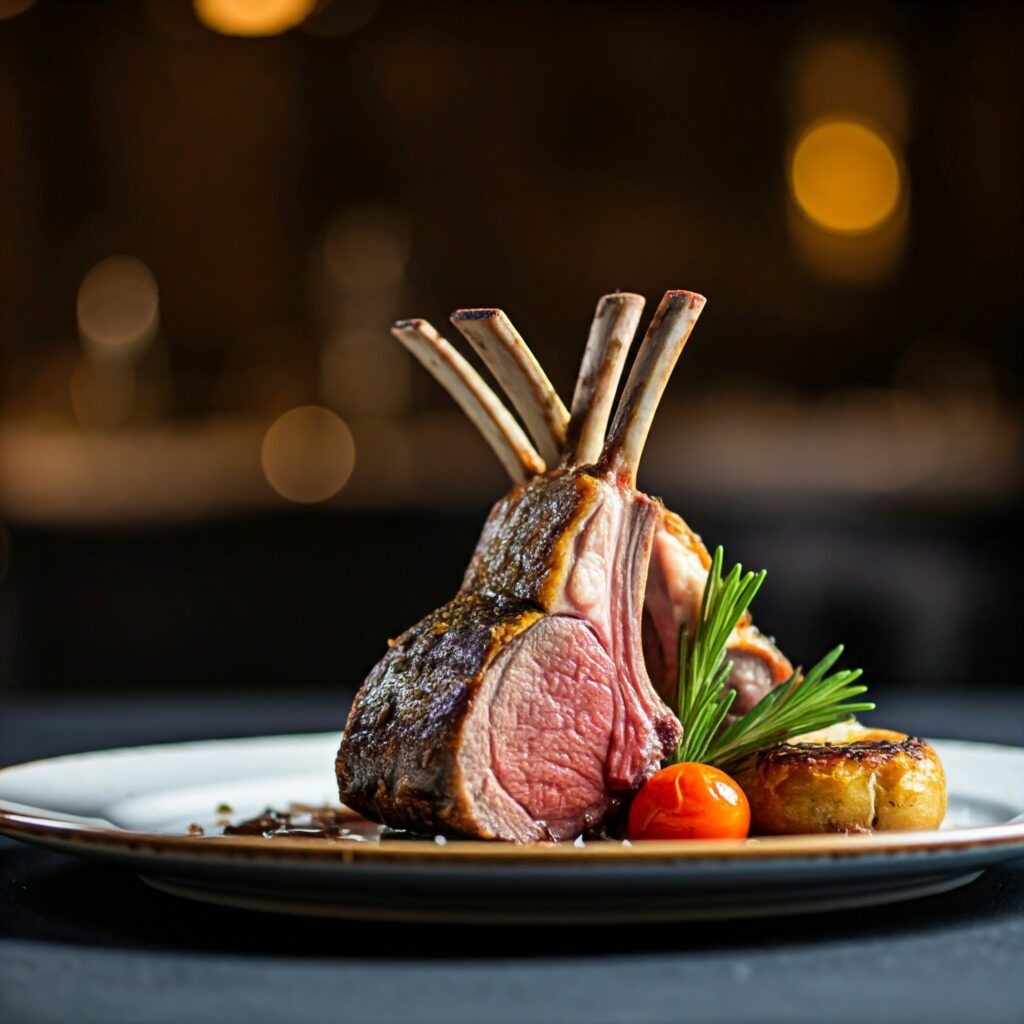
Rack of Lamb Recipe Image Created By Google Gemini Ingredients For the Lamb: 2 racks of lamb, frenched (about 1.5 lbs each) 4 cloves garlic, minced 2 tablespoons fresh rosemary, finely chopped 1 tablespoon fresh thyme leaves 1 teaspoon kosher salt ½ teaspoon freshly ground black pepper 2 tablespoons olive oil For the Salsa Verde: 1 cup fresh parsley leaves ½ cup fresh mint leaves 2 tablespoons capers, drained 2 anchovy fillets (optional) 1 clove garlic Zest and juice of 1 lemon ½ cup extra-virgin olive oil Salt and pepper, to taste Instructions Marinate the Lamb: In a small bowl, combine the minced garlic, chopped rosemary, thyme, salt, pepper, and olive oil to form a paste. Rub the paste evenly over the lamb racks, ensuring all surfaces are coated. Place the lamb in a dish, cover, and marinate in the refrigerator for at least 2 hours or overnight for deeper flavor. Prepare the Salsa Verde: In a food processor, combine the parsley, mint, capers, anchovy fillets (if using), garlic, lemon zest, and juice. Pulse until the herbs are finely chopped. With the processor running, slowly drizzle in the olive oil until the mixture reaches a saucy consistency. Season with salt and pepper to taste. Transfer to a bowl, cover, and refrigerate until ready to use. Cook the Lamb: Remove the lamb from the refrigerator and let it come to room temperature (about 30 minutes). Preheat the oven to 375°F (190°C). Heat a large ovenproof skillet over medium-high heat. Sear the lamb racks, fat side down, for 3–4 minutes until browned. Flip and sear the other side for an additional 2 minutes. Transfer the skillet to the preheated oven and roast for 15–20 minutes, or until the internal temperature reaches 130°F (54°C) for medium-rare. Remove the lamb from the oven, place it on a cutting board, and tent with foil. Let it rest for 10 minutes. Serve: Slice the lamb into individual chops. Arrange on a serving platter and drizzle with the prepared Salsa Verde. Garnish with additional fresh herbs if desired. https://www.youtube.com/watch?v=QDiKcbxCgAg More Details Tips Frenching the Racks: Ask your butcher to “french” the lamb racks, which involves trimming the meat and fat from the ends of the rib bones for a cleaner presentation. Marinating Time: Marinating overnight enhances the flavor, but if time is limited, even 2 hours will impart a good taste. Cooking Doneness: For medium doneness, aim for an internal temperature of 140°F (60°C). Use a meat thermometer for accuracy. Resting the Meat: Allowing the lamb to rest after roasting ensures the juices redistribute, resulting in tender and juicy meat. The video added to this recipe may vary in technique and ingredients . We just like giving you quick options to potentially compliment your dish!! 2024 Get Your Recipe™. All Rights Reserved
Gordon Ramsay Inspired Beef Wellington
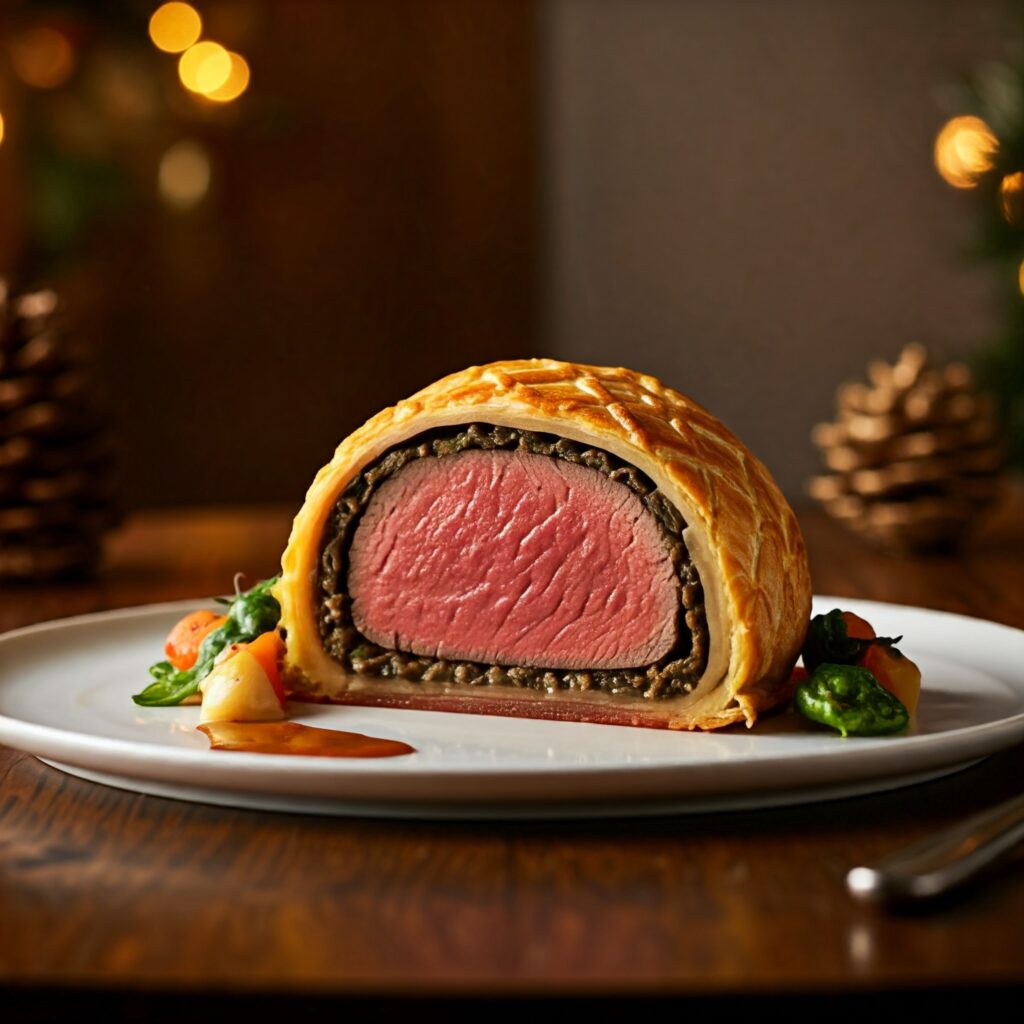
Gordon Ramsey Inspired Beef Wellington Image Created By Google Gemini Ingredients For the Beef Wellington: 2 x 400g beef fillets Olive oil, for frying 500g mixed wild mushrooms, cleaned 1 sprig of thyme, leaves only 500g puff pastry 8 slices of Parma ham 2 egg yolks, beaten with 1 tbsp water and a pinch of salt Sea salt and freshly ground black pepper For the Red Wine Sauce: 2 tbsp olive oil 200g beef trimmings 4 large shallots, peeled and sliced 12 black peppercorns 1 bay leaf 1 sprig of thyme Splash of red wine vinegar 1 bottle (750ml) red wine 750ml beef stock Preparation Steps 1.Prepare the Beef Fillets: Tightly wrap each beef fillet in a triple layer of cling film to set its shape; refrigerate overnight. Remove cling film and sear the fillets in a hot pan with olive oil for 30–60 seconds until browned all over and rare in the middle. Remove from pan and let cool. 2.Make the Mushroom Duxelles: Finely chop the mushrooms and sauté in a hot pan with olive oil, thyme leaves, and seasoning. Cook over high heat until all moisture evaporates, forming a paste-like mixture. Let the duxelles cool. 3.Assemble the Wellington: Roll out the puff pastry into two rectangles large enough to envelop each beef fillet; chill in the refrigerator. On a large sheet of cling film, lay 4 slices of Parma ham, slightly overlapping, to form a square. Spread half of the mushroom duxelles evenly over the ham. Season a beef fillet and place it on the mushroom-covered ham. Using the cling film, roll the ham over the beef into a tight log; twist the ends to secure. Repeat with the second fillet and chill both logs for at least 30 minutes. 4.Encase in Pastry: Brush the puff pastry with egg wash. Remove the cling film from the beef logs and place each on a pastry sheet. Wrap the pastry around the beef, sealing the edges and trimming any excess. Place the wrapped logs seam-side down on a baking sheet; brush with egg wash and chill for 15 minutes to allow the pastry to firm. 5.Bake: Preheat the oven to 200°C (400°F). Score the top of each Wellington lightly and brush with a final coat of egg wash. Bake for 15–20 minutes until the pastry is golden and the internal temperature of the beef reaches 54°C (130°F) for medium-rare. Rest for 10 minutes before slicing. 6.Prepare the Red Wine Sauce: Heat olive oil in a pan and sauté beef trimmings until browned. Add shallots, peppercorns, bay leaf, and thyme; cook until shallots are golden. Deglaze with red wine vinegar, then reduce the red wine by half. Add beef stock and simmer until reduced to a sauce consistency. Strain through a fine sieve and keep warm. https://www.youtube.com/watch?v=Cyskqnp1j64 More Details Chilling the beef fillets helps maintain their shape during searing and assembly. Ensuring the mushroom duxelles is dry prevents the pastry from becoming soggy. Using Parma ham adds flavor and acts as a barrier to moisture. Resting the Wellington after baking allows the juices to redistribute, resulting in a more tender and flavorful dish. 2024 Get Your Recipe™. All Rights Reserved
Turducken Recipe
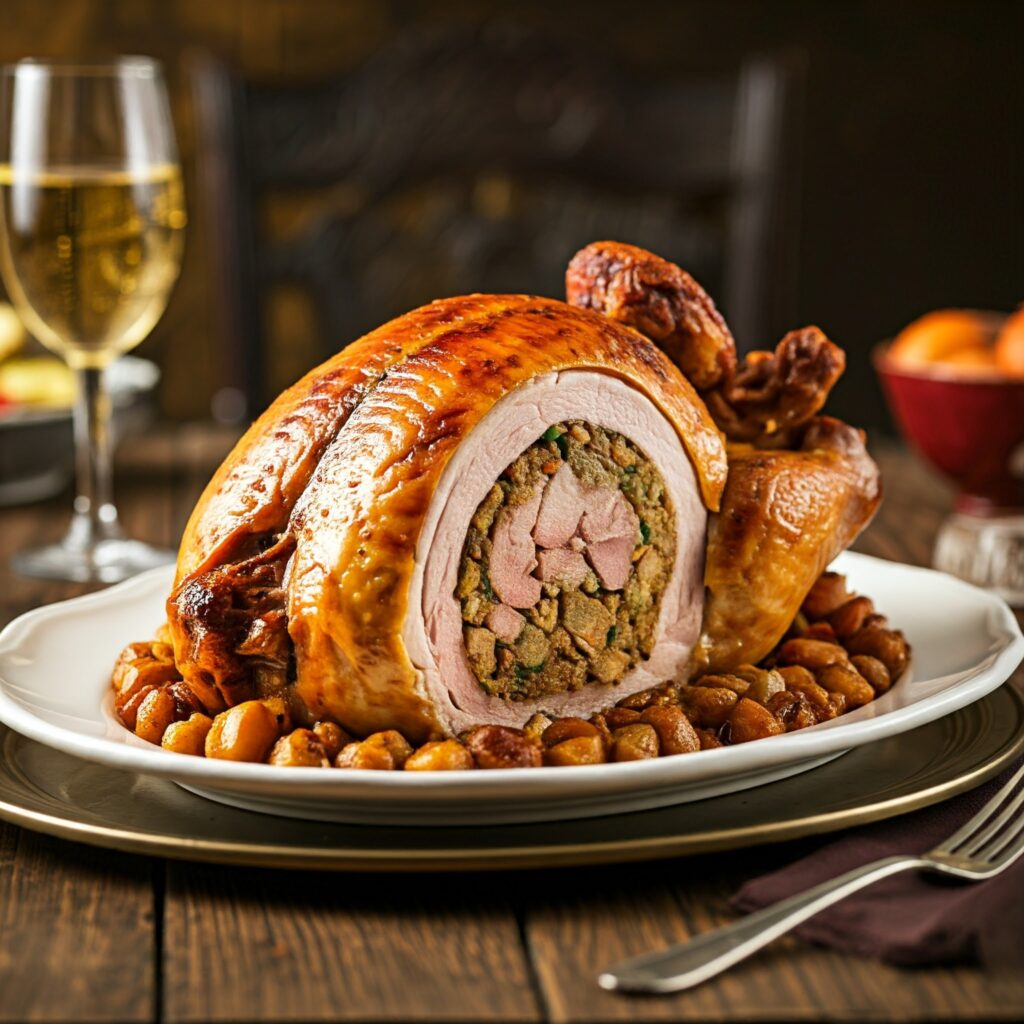
The Infamous Turducken Recipe Image Created By Google Gemini Chef Paul Prudhomme’s renowned version Ingredients Poultry: 1 whole turkey (15–20 lbs), deboned except for wing and drumstick bones 1 whole duck (5–6 lbs), fully deboned 1 whole chicken (3–4 lbs), fully deboned Stuffing: Cornbread Dressing: 8 cups crumbled cornbread 1 cup finely chopped onions 1 cup finely chopped celery 1 cup finely chopped bell peppers 2 cloves garlic, minced 2 cups chicken stock 2 eggs, beaten 2 tbsp fresh sage, chopped Salt and pepper to taste Andouille Sausage Dressing: 2 lbs andouille sausage, casing removed and crumbled 1 cup finely chopped onions 1 cup finely chopped celery 1 cup finely chopped bell peppers 2 cloves garlic, minced 2 cups breadcrumbs 1 cup chicken stock 2 tbsp fresh thyme, chopped Salt and pepper to taste Shrimp Dressing: 1 lb shrimp, peeled, deveined, and chopped 1 cup finely chopped onions 1 cup finely chopped celery 1 cup finely chopped bell peppers 2 cloves garlic, minced 2 cups cooked rice 1 cup chicken stock 2 tbsp fresh parsley, chopped Salt and pepper to taste Seasoning Rub: ½ cup unsalted butter, softened ¼ cup Cajun seasoning 2 tbsp paprika 1 tbsp garlic powder 1 tbsp onion powder 1 tbsp black pepper 1 tbsp salt Preparation Steps Prepare the Dressings: For each dressing, sauté the onions, celery, bell peppers, and garlic in a bit of oil until softened. Add the main ingredient (cornbread, sausage, or shrimp) and cook through. Stir in the remaining ingredients for each dressing, adjust seasoning, and let cool completely. Assemble the Turducken: Lay the turkey skin-side down on a flat surface. Season the interior with the seasoning rub. Spread a layer of cornbread dressing over the turkey, pressing it into an even layer. Place the deboned duck on top of the dressing. Season and spread a layer of andouille sausage dressing over the duck. Top with the deboned chicken, season, and spread the shrimp dressing over it. Carefully fold the sides of the turkey around the layers to enclose the fillings. Secure the turducken with kitchen twine, tying it firmly at intervals to maintain its shape. Roast the Turducken: Preheat the oven to 325°F (163°C). Place the turducken seam-side down on a rack in a large roasting pan. Roast, basting occasionally, until a meat thermometer inserted into the center reads 165°F (74°C), approximately 4 to 5 hours. If the skin browns too quickly, tent with foil to prevent burning. Rest and Serve: Remove the turducken from the oven and let it rest for at least 30 minutes before carving. Slice crosswise to showcase the layers and serve with your choice of sides. https://www.youtube.com/watch?v=EUDCX6ONzXc More Details Deboning: If you’re not comfortable deboning the poultry yourself, ask your butcher to do it. Stuffing Variations: Feel free to customize the dressings to your taste, incorporating ingredients like nuts, dried fruits, or different herbs. Cooking Time: Monitor the internal temperature closely to prevent overcooking. Serving: Given its richness, thin slices are sufficient. Pair with light sides to balance the meal. This elaborate dish is a true showstopper, perfect for special occasions and sure to impress your guests with its flavorful layers. 2024 Get Your Recipe™. All Rights Reserved
Turkey Porchetta (Turchetta) Recipe
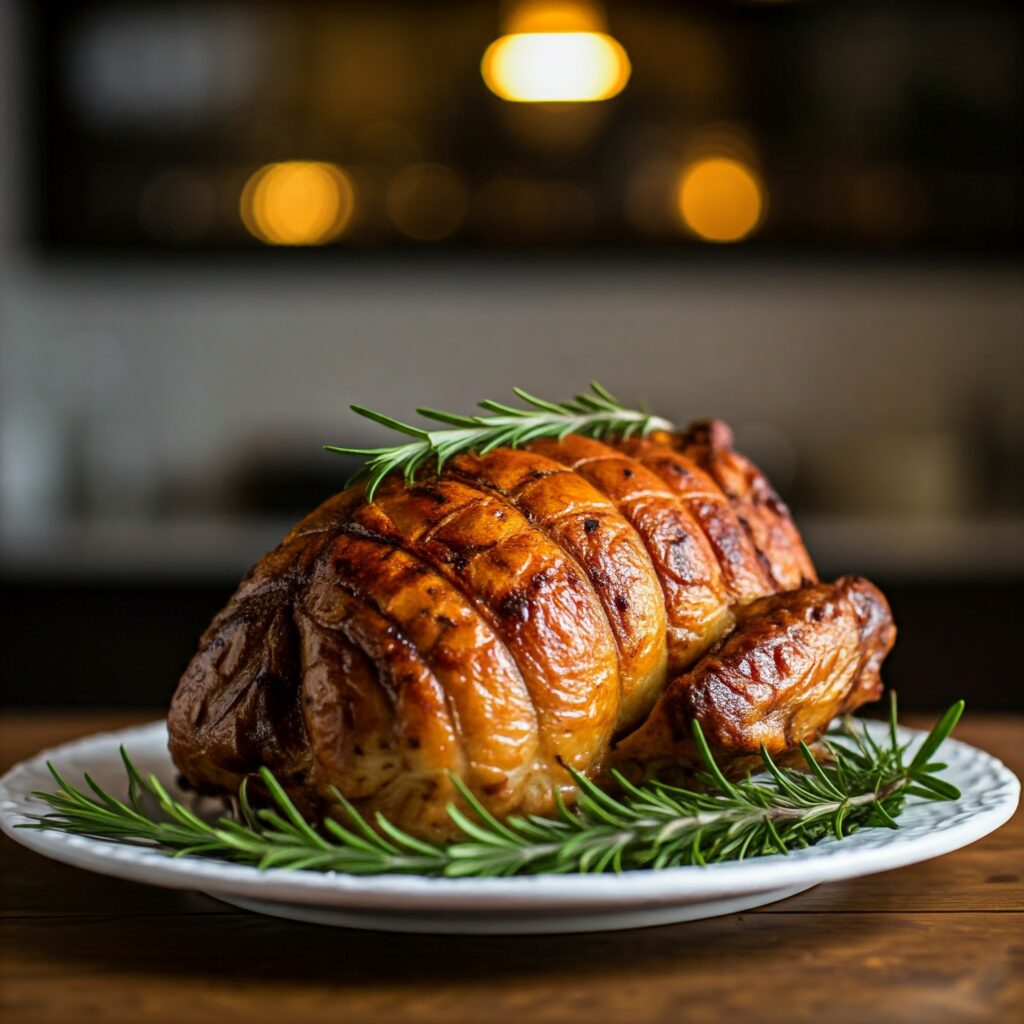
Turkey Porchetta (Turchetta) Recipe Image Created By Google Gemini Ingredients Turkey: 1 whole bone-in, skin-on turkey breast (7–8 lbs) Herb Paste: 1 tablespoon fennel seeds 2 teaspoons black peppercorns ¼ cup fresh rosemary leaves, chopped ¼ cup fresh sage leaves, chopped ¼ cup fresh thyme leaves 6 garlic cloves, chopped 2 tablespoons kosher salt 3 tablespoons extra-virgin olive oil For Roasting: 2 tablespoons unsalted butter, melted Preparation Steps Prepare the Herb Paste: Grind fennel seeds and black peppercorns using a spice grinder or mortar and pestle until finely ground. In a food processor, combine the ground spices, rosemary, sage, thyme, garlic, and kosher salt. Pulse until finely chopped. Add olive oil and pulse to form a coarse paste. Prepare the Turkey: Remove the skin from the turkey breast in one piece and set it aside. Debone the turkey breast halves, removing tenderloins, and butterfly them to an even thickness. Rub the herb paste evenly over all sides of the turkey meat. Reassemble the breast halves into a cylindrical shape and wrap the reserved skin around the meat. Tie the roast securely with butcher’s twine at 1-inch intervals. Season and Rest: Sprinkle the exterior of the roast with additional kosher salt. Place the roast on a wire rack set in a rimmed baking sheet. Refrigerate, uncovered, for at least 8 hours or up to 24 hours to allow the flavors to meld and the skin to dry slightly. Roast the Turkey Porchetta: Preheat the oven to 275°F (135°C). Brush the roast with melted butter. Roast until the internal temperature reaches 145°F (63°C), approximately 2 to 2½ hours. Increase the oven temperature to 500°F (260°C) and continue roasting until the skin is crisp and the internal temperature reaches 160°F (71°C), about 15 minutes more. Rest and Serve: Remove the roast from the oven and let it rest for 30 minutes. Remove the twine, slice, and serve. https://www.youtube.com/watch?v=–98VRFpvEQ More Details Flavor Variations: Incorporate lemon zest into the herb paste for a citrusy note. Crispier Skin: Ensuring the skin is dry before roasting helps achieve a crisp texture. Serving Suggestion: Pair with roasted vegetables and a light gravy made from the pan drippings. 2024 Get Your Recipe™. All Rights Reserved
Perfectly Stuffed Turkey Recipe
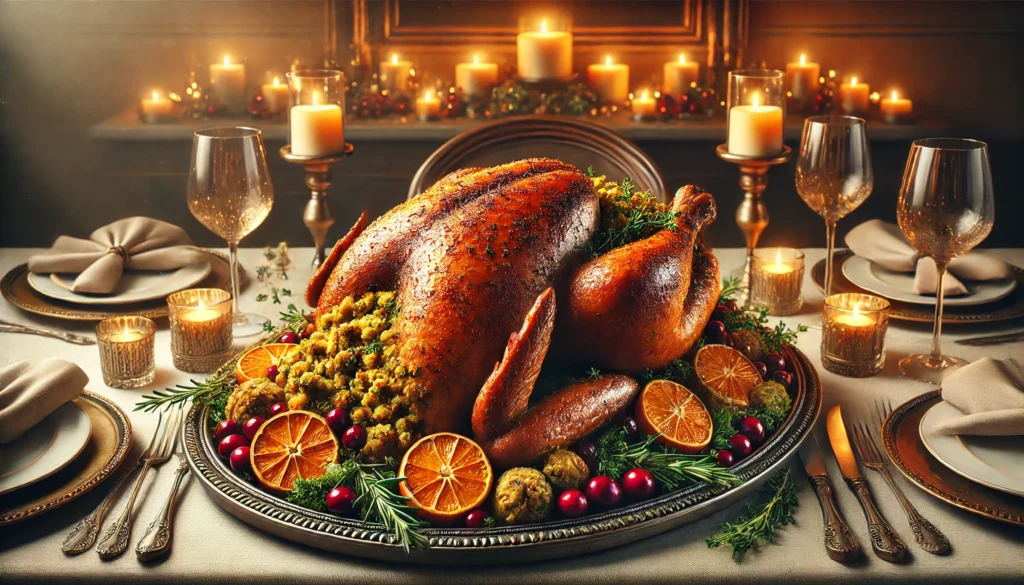
Perfectly Stuffed Turkey Recipe Image Created By DALL-E Ingredients Turkey: 1 whole turkey (12–14 lbs), thawed Stuffing: 6 cups bread cubes (day-old or dried) 1 cup onion, diced 1 cup celery, diced ½ cup unsalted butter 1 cup chicken or turkey stock 1 tbsp fresh sage, chopped 1 tbsp fresh thyme, chopped 1 tbsp parsley, chopped ½ tsp salt ½ tsp black pepper How-To: Preparation Prepare the Stuffing: In a large skillet, melt butter over medium heat. Sauté onion and celery until soft (5–7 minutes). In a large bowl, combine sautéed vegetables, bread cubes, herbs, salt, and pepper. Gradually add stock until the stuffing is moist but not soggy. Cool completely before stuffing the turkey. Prepare the Turkey: Remove giblets and neck; rinse the turkey inside and out, then pat dry. Season the cavity lightly with salt and pepper. Stuff the Turkey: Loosely pack the cooled stuffing into the neck and body cavities, leaving room for the stuffing to expand as it cooks. Secure the neck flap with skewers or kitchen twine. Tie the turkey legs together to keep the stuffing in place. Roast the Turkey: Preheat oven to 325°F. Place the stuffed turkey on a roasting rack in a large roasting pan. Brush the turkey with melted butter or olive oil, and season the skin with salt and pepper. Roast for ~15 minutes per pound. Use a meat thermometer to ensure the stuffing reaches 165°F and the turkey meat reaches 170°F in the breast and 180°F in the thigh. Rest and Serve: Let the turkey rest, tented with foil, for 20–30 minutes before carving. This allows juices to redistribute. More Details Tips for Perfect Stuffing Moist but Not Wet: The stuffing should be slightly moist before cooking. Overly dry stuffing won’t absorb turkey juices, but soggy stuffing can be mushy. Cool Before Stuffing: Always cool the stuffing before placing it inside the turkey to avoid uneven cooking and potential food safety issues. Don’t Overpack: Loosely pack the stuffing; it needs room to expand as it absorbs juices during cooking. Cook to Safe Temps: Use a meat thermometer to check that the stuffing reaches 165°F. If the turkey is done but the stuffing isn’t, remove the stuffing and finish baking it in a separate dish. Alternative Cooking: For simpler prep, bake the stuffing in a casserole dish alongside the turkey. It will still absorb turkey drippings if placed underneath the bird on a rack. Add-In Ideas: Boost flavor with add-ins like sausage, dried cranberries, apples, chestnuts, or mushrooms. Keep It Balanced: Use a mix of fresh herbs for depth and day-old bread for the perfect texture. Let It Rest: Letting the turkey rest before carving allows stuffing to set and flavors to meld. 2024 Get Your Recipe™. All Rights Reserved
Dry-Brined Smoked Turkey Recipe
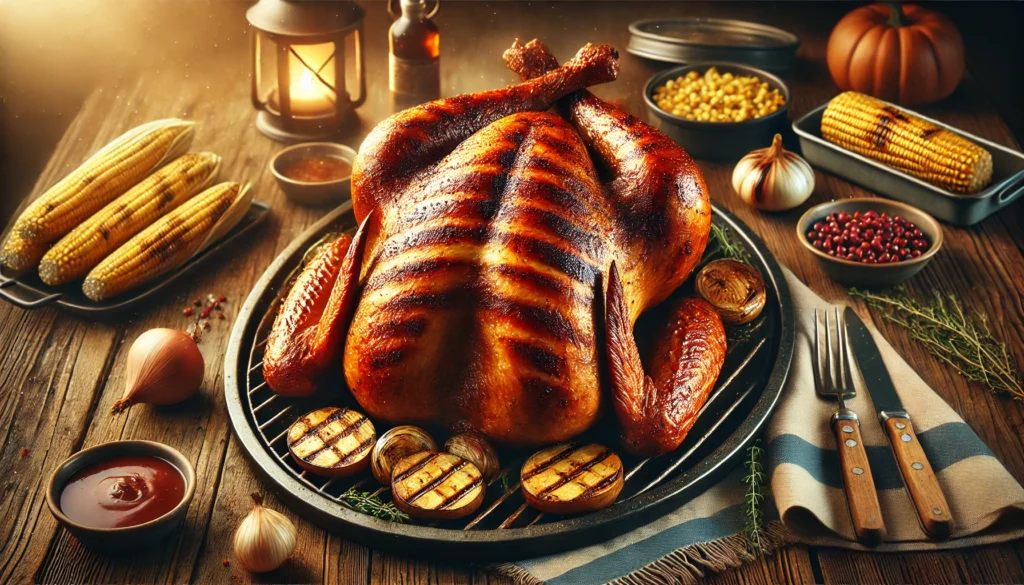
Popular Dry-Brined Smoked Turkey Recipe Image Created By DALL-E Ingredients Turkey: 1 whole turkey (12–14 lbs), thawed Dry Brine: ¼ cup kosher salt 2 tbsp brown sugar 1 tbsp black pepper 1 tbsp smoked paprika 1 tsp garlic powder 1 tsp onion powder 1 tsp dried thyme 1 tsp dried rosemary For Smoking: Wood pellets (apple, cherry, hickory, or pecan) Optional: fresh herbs (e.g., rosemary, thyme) for cavity Preparation Steps Apply the Dry Brine: In a bowl, mix all dry brine ingredients. Pat the turkey dry with paper towels. Gently separate the skin from the breast meat and apply some brine directly onto the meat. Rub the remaining brine evenly over the entire turkey, including the cavity. Place the turkey on a wire rack over a baking sheet and refrigerate, uncovered, for 24–48 hours. This air-drying helps achieve crispy skin. Prepare the Pellet Grill: Set the pellet grill to 325°F (163°C) using your choice of wood pellets. Allow the grill to preheat thoroughly. Smoke the Turkey: Remove the turkey from the refrigerator and let it sit at room temperature for 30 minutes. Optional: place fresh herbs inside the cavity for added aroma. Place the turkey breast-side up directly on the grill grates. Smoke until the internal temperature reaches 160°F (71°C) in the breast and 175°F (79°C) in the thigh, approximately 3–4 hours. Rotate the turkey or cover any parts with foil if they brown too quickly. Rest and Serve: Carefully remove the turkey from the grill and let it rest for 20–30 minutes, loosely tented with foil. Carve and serve. https://www.youtube.com/watch?v=If9P5a53Tnc More Details Crispier Skin: Finishing the turkey in a 400°F (204°C) oven for the last 10–15 minutes can enhance skin crispness. Flavor Variations: Customize the dry brine by adding spices like cayenne pepper for heat or citrus zest for brightness. Wood Selection: Fruitwoods like apple or cherry impart a mild, sweet flavor, while hickory offers a stronger, smoky taste. 2024 Get Your Recipe™. All Rights Reserved
Popular Brined Turkey Recipe
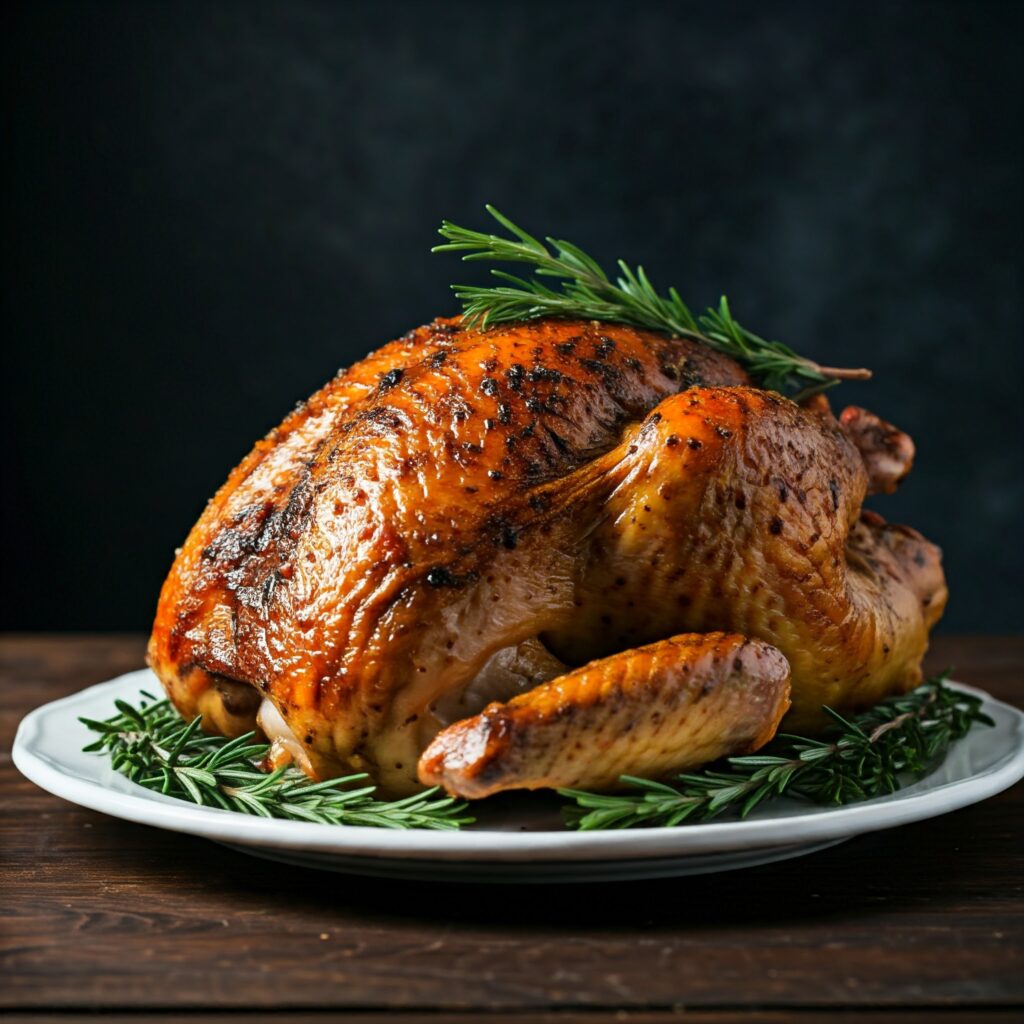
Popular Brined Turkey Recipe Image Created By Google Gemini Ingredients Turkey: 1 whole turkey (12–14 lbs), thawed Brine: 1 gallon water 1 cup kosher salt 1 cup brown sugar 1 orange, sliced 1 lemon, sliced 1 onion, quartered 4 cloves garlic, smashed 1 tbsp black peppercorns 1 tbsp dried thyme 1 tbsp dried rosemary 2 bay leaves How-To: Preparation Prepare the Brine: In a large pot, combine water, kosher salt, and brown sugar. Heat until dissolved, then cool to room temperature. Add orange, lemon, onion, garlic, peppercorns, thyme, rosemary, and bay leaves. Stir to combine. Submerge the Turkey: Place the turkey in a large brining bag or a clean bucket. Pour the cooled brine over the turkey, ensuring it’s fully submerged. Refrigerate for 12–24 hours. Rotate the turkey occasionally to ensure even brining. Rinse and Dry: Remove the turkey from the brine. Rinse thoroughly under cold water to remove excess salt. Pat the turkey completely dry with paper towels. Season the Turkey: Rub the turkey with olive oil or melted butter and season with a simple mix of black pepper, paprika, and garlic powder. Avoid adding more salt since the brine has already seasoned the bird. Cook the Turkey: Roast in a preheated oven at 325°F, following these approximate times: 12–14 lbs: 3–4 hours 14–16 lbs: 4–4.5 hours Baste every 30 minutes with pan drippings or melted butter for extra moisture. The turkey is done when the internal temperature reaches 165°F in the breast and 175°F in the thigh. Rest Before Serving: Let the turkey rest, tented with foil, for 20–30 minutes before carving. https://www.youtube.com/watch?v=uE89AQXinkQ More Details Why Brine? Brining infuses the turkey with moisture and flavor, preventing dryness during cooking. Alternative Flavors: Add cider, honey, or maple syrup to the brine for a sweet twist. For a bold, savory flavor, replace water with chicken stock and add a splash of soy sauce. Quick Brine (Dry Brine): Rub the turkey with kosher salt, sugar, and spices, then refrigerate uncovered for 24 hours. Skip the rinsing step for a crispy skin. (Check Out Our Popular Dry Brine Recipe!) Pairing Ideas: Serve with classic sides like cranberry sauce, mashed potatoes, and gravy made from pan drippings. 2024 Get Your Recipe™. All Rights Reserved
Classic Smoked Turkey
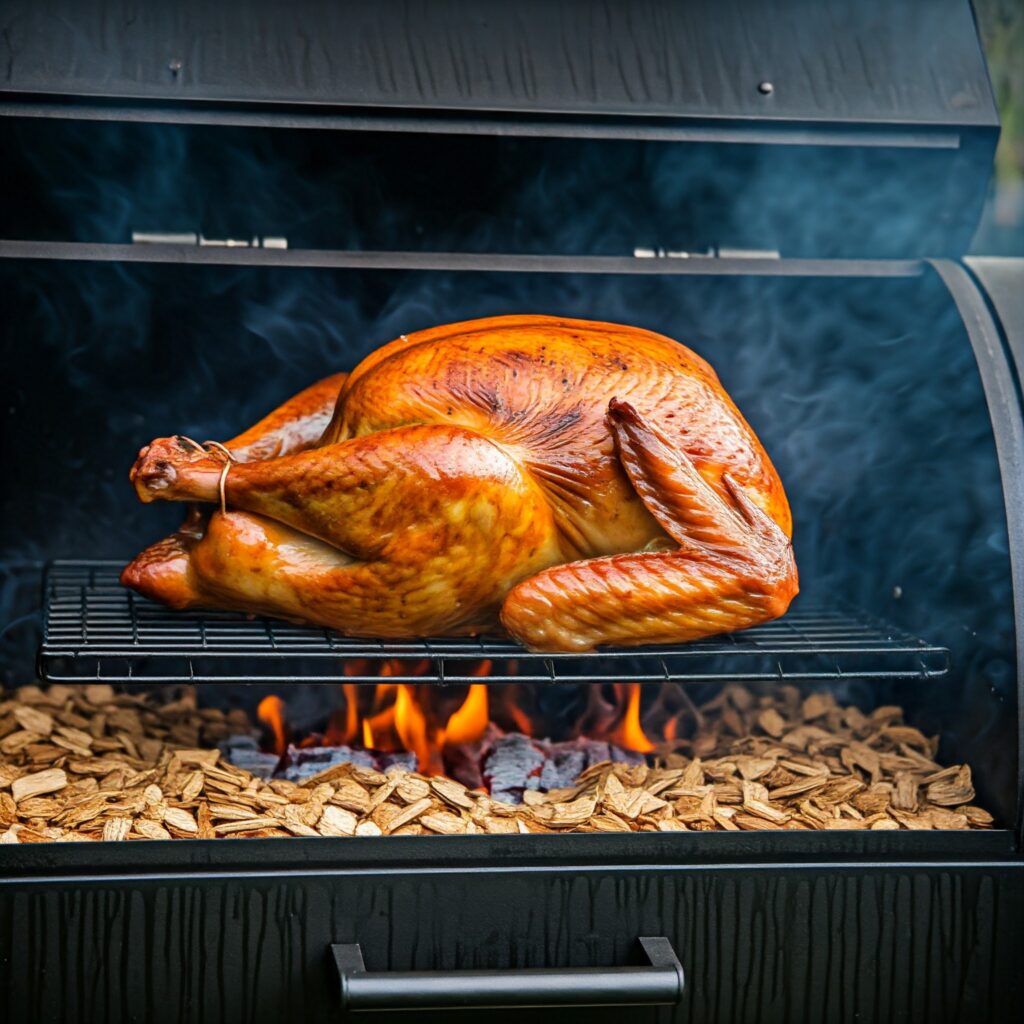
Classic Smoked Turkey Image Created By Google Gemini Ingredients Turkey: 1 whole turkey (12–14 lbs), thawed Brine (Optional but Recommended): 1 gallon water 1 cup kosher salt 1 cup brown sugar 1 tbsp black peppercorns 1 tbsp garlic powder 1 tbsp onion powder 2 sprigs fresh thyme 2 sprigs fresh rosemary Rub: ¼ cup olive oil or melted butter 2 tbsp smoked paprika 2 tbsp garlic powder 1 tbsp onion powder 1 tbsp black pepper 1 tsp cayenne pepper (optional) For Smoking: Wood chips (applewood, cherry, hickory, or pecan are ideal) Water pan for moisture How-To: Preparation Brine the Turkey (Optional but Enhances Flavor): In a large container, dissolve salt and sugar in water. Add peppercorns, garlic powder, onion powder, thyme, and rosemary. Submerge the turkey and refrigerate for 12–24 hours. Rinse and pat dry after removing. Prepare the Rub: Combine olive oil (or butter) with smoked paprika, garlic powder, onion powder, black pepper, and cayenne. Rub generously over the turkey, including under the skin for maximum flavor. Preheat the Smoker: Set the smoker to 225°F. Add wood chips to the smoker box and fill the water pan to maintain moisture. Smoke the Turkey: Place the turkey breast-side up on the smoker grate. Smoke for approximately 30–40 minutes per pound. A 12-pound turkey will take 6–7 hours. Baste every hour with melted butter or drippings for added flavor. Check for Doneness: Use a meat thermometer to ensure the thickest part of the breast reaches 165°F and the thigh reaches 175°F. Rest the Turkey: Remove the turkey from the smoker and tent loosely with foil. Let rest for 30 minutes before carving to retain juices. https://www.youtube.com/watch?v=kQiZdcrR4kw More Details Wood Chip Flavor Pairings: Applewood: Sweet and mild, great for a classic smoked turkey. Hickory: Strong, smoky flavor for a bold taste. Cherry: Slightly sweet and adds a reddish hue to the turkey skin. Pecan: Mellow and nutty, a balanced option. Brining Shortcut: If short on time, use a dry brine (kosher salt and spices) rubbed directly on the turkey skin and left overnight in the fridge. Crispier Skin Tip: Finish the turkey in a 400°F oven for 10–15 minutes to crisp up the skin. Leftover Ideas: Use smoked turkey for soups, sandwiches, or a smoky turkey salad. 2024 Get Your Recipe™. All Rights Reserved
Authentic Jerk Turkey
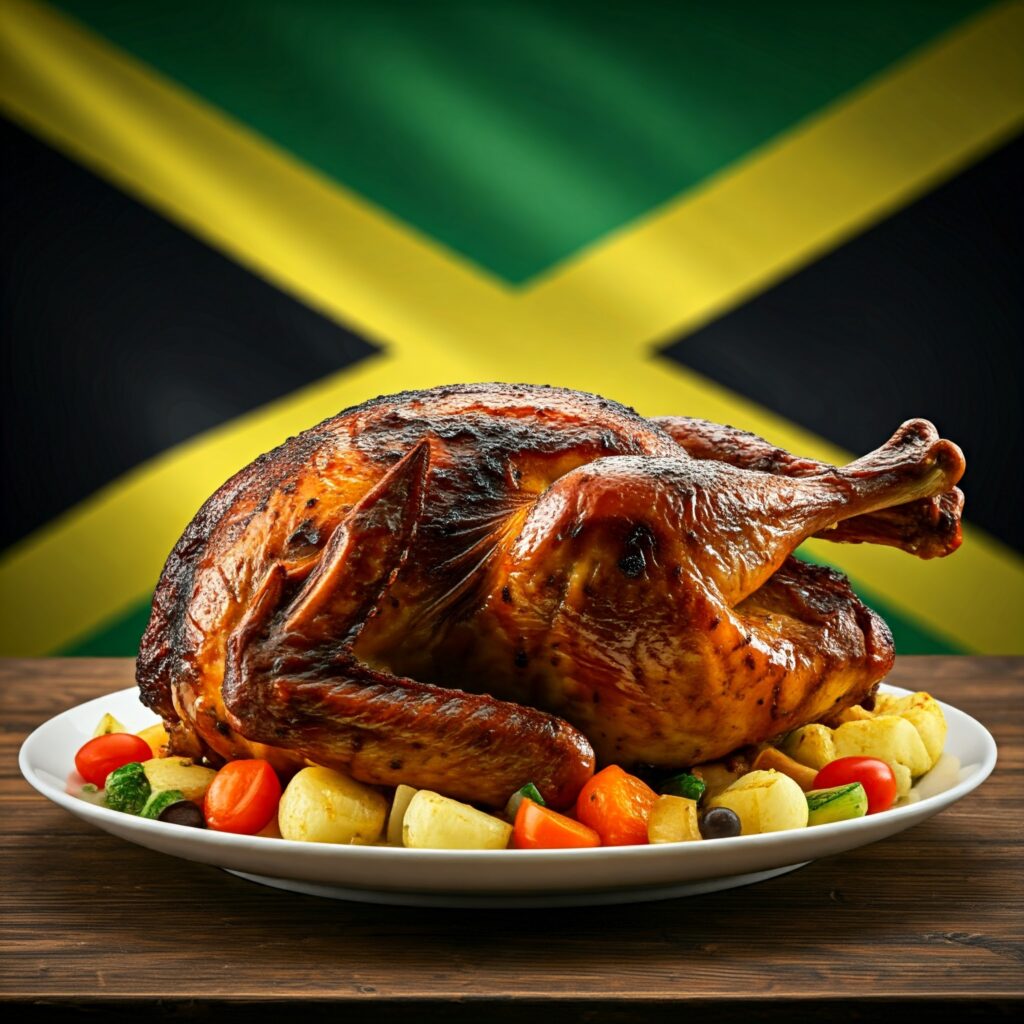
Authentic Jerk Turkey! Image Created By Google Gemini Ingredients Turkey: 1 whole turkey (12–14 lbs), thawed Jerk Marinade: 4 green onions (scallions), chopped 1 medium onion, chopped 1 – 3 Scotch bonnet peppers (adjust for heat), seeded 4 garlic cloves, minced ¼ cup fresh ginger, grated ¼ cup soy sauce ¼ cup olive oil ¼ cup apple cider vinegar or wine 2 tbsp lime juice 2 tbsp brown sugar 2 tbsp thyme leaves (fresh preferred) 1 tbsp ground allspice (Pimento seed) 1 tsp cinnamon 1 tsp nutmeg 1 tsp black pepper 1 tsp salt How-To: Preparation Make the Jerk Marinade: Combine all marinade ingredients in a blender or food processor. Blend until smooth. Prepare the Turkey: Remove giblets and neck; rinse the turkey inside and out, then pat dry. Loosen the skin over the breast and legs with your hands, being careful not to tear it. Marinate the Turkey: Generously rub the jerk marinade under the skin, inside the cavity, and over the entire turkey. Place the turkey in a large resealable plastic bag or wrap it tightly in plastic wrap. Refrigerate for 12–24 hours. Preheat the Grill or Oven: For grilling: Preheat a charcoal or gas grill for indirect cooking at ~325°F. Use soaked wood chips (like pimento, apple, or hickory) for a smoky flavor. For oven-roasting: Preheat to 325°F. Cook the Turkey: Grill Method: Place the turkey breast-side up on the cooler side of the grill. Cover and cook, basting every hour with pan drippings or additional marinade. Grill for 3–4 hours or until the internal temperature reaches 165°F in the breast and 175°F in the thigh. Oven Method: Roast on a rack in a roasting pan. Baste every hour, cooking for ~15 minutes per pound. Rest and Serve: Let the turkey rest for 30 minutes, loosely covered with foil, to allow juices to redistribute. Carve and serve with traditional sides like rice and peas, fried plantains, or steamed cabbage. https://www.youtube.com/watch?v=5DVKia-SLH8 More Details Authentic Flavors: For true authenticity, use pimento wood chips for grilling. These add the signature Jamaican jerk flavor. Adjusting Spice Level: Jerk is meant to be spicy, but adjust the number of Scotch bonnets for your preferred heat level. Extra Crispy Skin: For a crispier finish, brush the turkey with olive oil before roasting or grilling. Leftovers Tip: Use leftover jerk turkey in sandwiches, tacos, or a flavorful jerk turkey soup. 2024 Get Your Recipe™. All Rights Reserved
Classic Deep-Fried Turkey Recipe
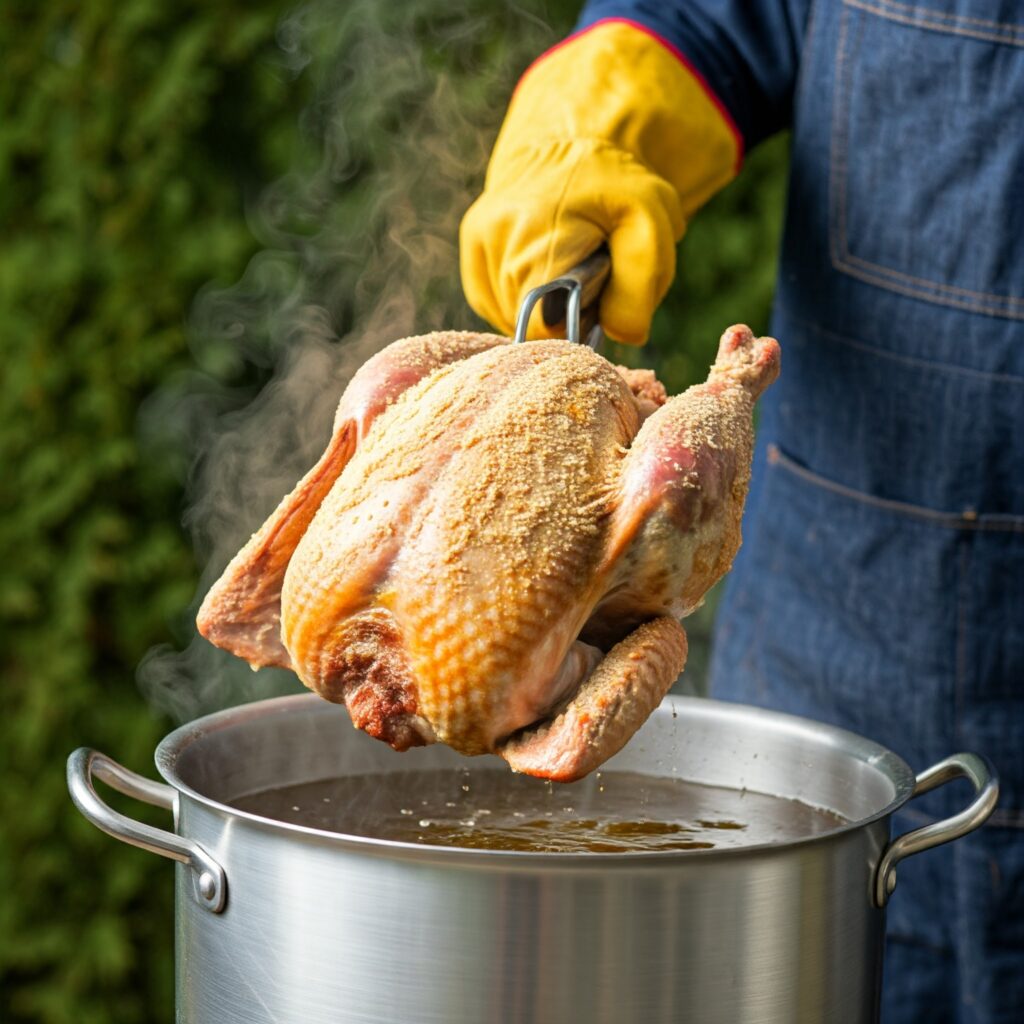
Classic Deep-Fried Turkey Recipe Image Created By Google Gemini Ingredients 1 whole turkey (10–12 lbs), fresh or thawed 3–4 gallons peanut oil (or canola oil) ¼ cup salt ¼ cup garlic powder 2 tbsp paprika 2 tbsp black pepper 1 tbsp cayenne pepper (optional for spice) How-To: Preparation Prep the Turkey: Remove giblets and neck from the cavity. Rinse the turkey and pat dry thoroughly. Rub the turkey inside and out with salt, garlic powder, paprika, and black pepper. Preheat the Oil: Heat oil in a large turkey fryer to 350°F. Ensure the fryer is outdoors and away from flammable materials. Measure the Oil Level: Before heating, place the turkey in the fryer and fill with water to determine the correct oil level. Mark the level, then remove the turkey and thoroughly dry the fryer. Lower the Turkey Slowly: Turn off the burner and carefully lower the turkey into the hot oil using a fryer basket or hook. Relight the burner once the turkey is safely in the oil. Cook Time: Fry the turkey for 3–4 minutes per pound. A 12-pound turkey will take about 36–48 minutes. Use a meat thermometer to check the internal temperature: 170°F in the breast and 180°F in the thigh. Remove and Rest: Carefully lift the turkey out of the fryer and drain excess oil. Let it rest on a rack or platter for 20–30 minutes before carving. https://www.youtube.com/watch?v=4YT1-_OjNxY More Details Safety Tip: Always keep a fire extinguisher rated for grease fires nearby. Never leave the fryer unattended. Oil Choice: Peanut oil is preferred for its high smoke point and neutral flavor. Flavor Additions: Inject a marinade of melted butter, garlic, and spices for extra juiciness. Serving Ideas: Pair with cornbread, coleslaw, or potato salad for a classic backyard vibe. Additional Safety Advice: Always Fry Outdoors: Never use a turkey fryer indoors, in a garage, or under an overhang. Ensure you’re at least 10 feet away from any structure. Completely Dry the Turkey: Ensure the turkey is fully thawed and dry before frying. Water or ice can cause the hot oil to splatter or overflow, leading to a fire. Monitor the Oil Level: Never overfill the fryer with oil. Use the water displacement method beforehand to determine the right oil level. Wear Protective Gear: Use heat-resistant gloves, long sleeves, and safety goggles to protect against splashes of hot oil. Don’t Hover Over the Fryer: Avoid leaning or standing directly above the fryer while lowering the turkey. Use a long hook or fryer basket for safe handling. Turn Off the Burner When Adding the Turkey: Temporarily turn off the burner before slowly lowering the turkey into the oil. Relight the burner once the turkey is fully submerged. Keep a Fire Extinguisher Nearby: Have a Class K fire extinguisher (for grease fires) within reach. Never use water to extinguish an oil fire. Maintain Oil Temperature: Use a fryer thermometer to monitor the oil temperature. Avoid exceeding 375°F to prevent overheating or combustion. Clear the Area: Keep children, pets, and distractions far away from the cooking zone. Properly Dispose of Oil: Allow the oil to cool completely before disposal or reuse. Strain and store used oil in a sealed container. Never Leave Unattend: Always stay with the fryer while it’s in use to quickly address any emergencies. 2024 Get Your Recipe™. All Rights Reserved